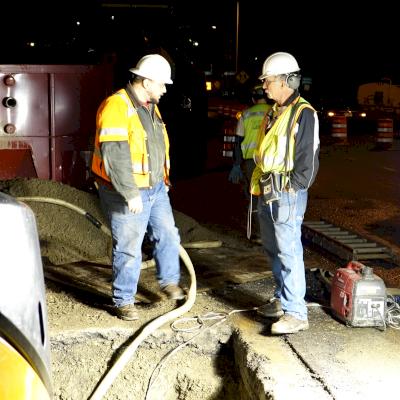
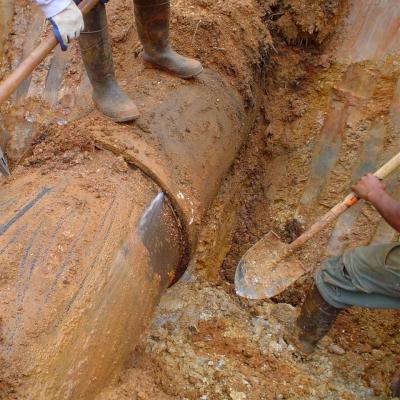
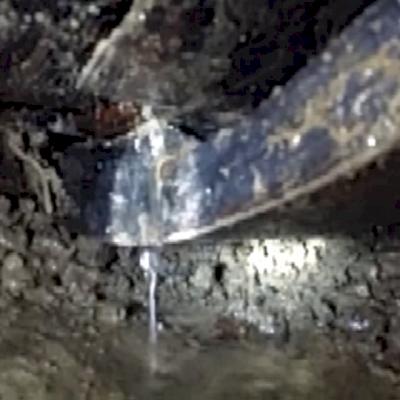
In the field, a contractor can become frustrated when attempting to locate the source of a water leak in a buried pipeline. Having a reasoned plan of resolve will save a lot of time, money, and headaches, along with demonstrating a true level of professionalism to outside observers. In this Iron Strong blog, we will examine the patterns of thought, questions to be answered, and the different assessments used when locating a leak.
First and foremost, the least productive thing to do when searching for a leak is to “just start digging," in other words – random potholing. A thorough investigation requires a plan. And a plan needs data. This leads us to the popular proverb for success, "plan your work, work your plan."
Initial Evaluations
The post-installation Hydrostatic Test as outlined in the ANSI/AWWA C600 Standard for the Installation of Ductile Iron Mains and Their Appurtenances simply determines if you have a “solid” pipeline or not. If, however, your results are outside of the allowed limits for the project, further evaluation is needed.
It is essential to confirm that the pipeline was and will be filled slowly from the low-end with air being exhausted from the highest spot in the pipeline. Multiple air release locations may be required depending on the number of changes in elevation.
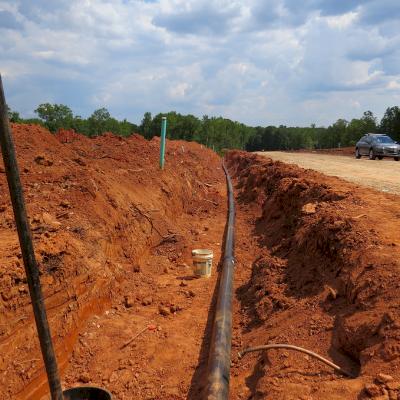
PRO TIP: Pipelines are often installed at a determined depth (example 8-foot depth). The depth may always be 8-foot, but the grade frequently changes. Hills, valleys, creek beds, you name it.
The first question to answer is, "How much water am I losing?" Do not rely solely on a pressure drop during the hydrostatic test to determine the pipeline’s true fitness. Pressure loss is an indicator, but not necessarily a determinant. It could very well just be some air trapped in the pipeline. Instead, you need to focus on the volume of water you are losing. It is crucial to find the rate of water loss per minute before attempting to fix the problem.
Far too often people see a drop in pressure and assume it is a leak, when in fact, it could be air trapped in the line. Measuring make-up water is clearly explained and demonstrated in the Hydrostatic Pressure Test video. No special equipment is required for this test. You simply need a pump, gauge, and a bucket, essentially the same equipment used in the Hydrostatic Test.
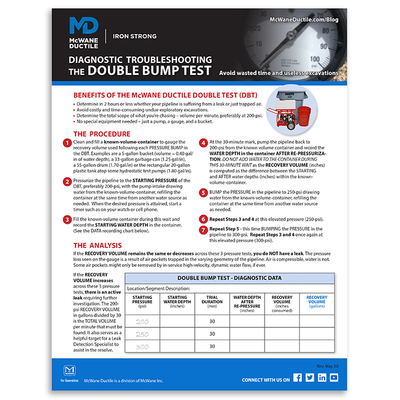
Reminder: Fill from the low end and bleed air from the high end to ensure that the supposed “leak” is not just an air bubble that is being compressed. We at McWane Ductile also provide a diagnostic tool known as the Double Bump Test (DBT) procedure designed to help you distinguish between a trapped air problem or an actual leak. More importantly, the DBT will establish the target rate of water loss per minute to guide the resolve.
PRO TIP: If the pressure falls to zero, this is an indication of a leak (not trapped air).
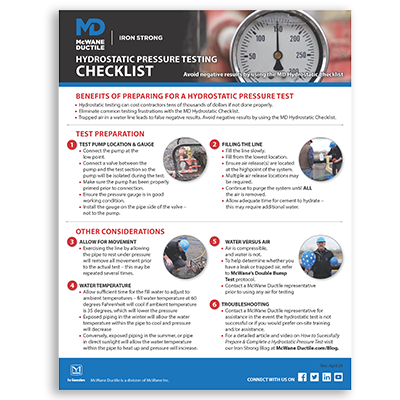
With this free Hydrostatic Pressure Test Preparation Checklist from McWane Ductile, you can avoid negative test results and succeed the first time!
Deductive Planning
If determined, there is an active leak; the first step is to mentally review the job in its entirety. When you break down the knowns, you can follow that information to narrow down where the leak could be in your line.
A simple yet powerful truth is that it can only be one of two things; either a manufacturing deficiency in parts that make up the pipeline or an installation issue. Manufacturing defects are few and far between, but the potential exists. Installation issues: again, few and far between, can be zeroed in on with a little deductive questioning. Here are a few different factors to put in your equation:
- Was there any inclement weather or another scenario that rushed work on the job? Anything that changes the typical installation cadence or routine of even the best crews can contribute to an unintentional assembly error. Locations on the pipeline worked during such times make them a prime suspect spot for investigation.
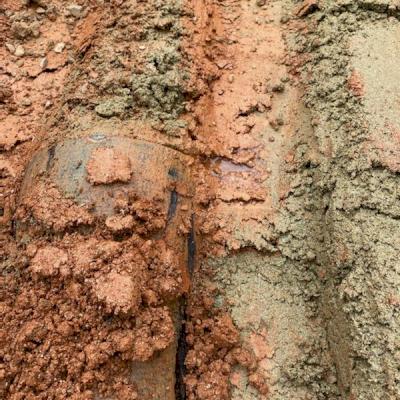
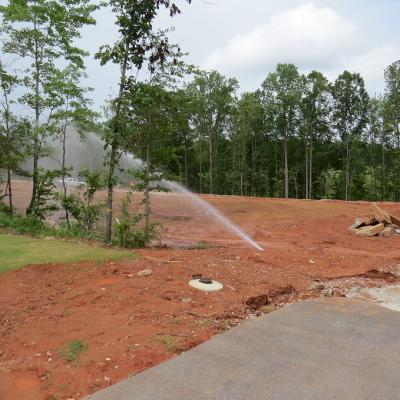
- Secondly, look at the ground conditions for the pipe; were there any challenges or obstacles that you faced? It would not hurt to search there for any clues as well, such as water accumulating at the surface above the buried line.
Examining Groundwater
Is the water you found a leak or simply groundwater from a stream, rainwater, etc.? Chlorinated water must be used to fill a new water line. Use a simple chlorine test kit from your local swimming pool outlet store to determine if there is chlorine in the groundwater or not. If chlorine is present: it's a leak from the pipeline. No chlorine: indicates groundwater.
Was there any complicated, cramped, or unusual installation geometry encountered? Such is a leading contributor to "changing the crew's methods or ways" for even just a moment, as noted earlier. A wicked bundle of adjacent fittings, specialized spool pieces, or a utility loop where the angles involved "just wouldn't let you push straight" are a few specific examples.
Is it a leak or just trapped air? Be confident with your pressure test results by downloading and using this handy Double Bump Test Tip sheet!
PRO TIP: The pressure reading on the gauge may provide insight as to the location of a leak. Providing the gauge is located at the lowest elevation of the line; the head pressure of the water will be displayed. Example: 150 feet drop in elevation equals 65psi of head pressure.
Lastly, be sure to double-check all your Mechanical Joint connections throughout the job as well. Often, the glands/bolts used to assemble these joints may have “loosened” since their initial assembly. Generous use of the approved gasket lubricant on all sides of a Mechanical joint gasket eliminates this concern. Follow-up Installation training of the ANSI/AWW C600 Installation of Ductile Iron Mains and Their Appurtenances by a McWane Ductile technical team member may be in order.
If in the course of unearthing and examining any of the "spots" described so far you encounter water escaping from the pipeline, be sure to compare this water loss rate with the per minute rate established by the DBT, preferably at a steady 200-psi being maintained in pipeline with a pump.
If you affect a repair, which typically means draining the pipeline to do so, you lose all the data you have developed to date. You would need to perform a new DBT to re-gauge any remaining loss or newly trapped air from refilling the pipeline again.
Considering a Leak Detection Specialist
Therefore, once you have processed the areas of concern noted above, you may need to consider whether a leak detection specialist should be retained. If so, the data accumulated from the latest DBT will serve as a guide for the resolve. To say it plainly, their first question will be, " How much water are we chasing, from how many feet, of what size pipe?" Okay, maybe that is three questions – but the point is the same.
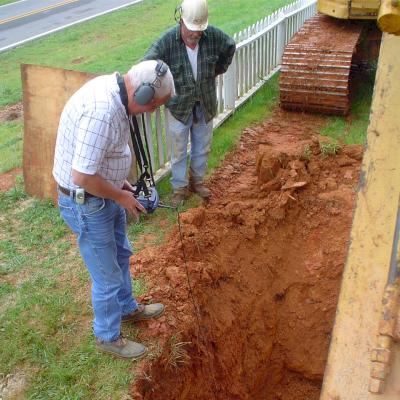
Leak detection is based primarily on sound. A common misconception in the field is that poly wrap may interfere with this process. The sound volume often increases when poly wrap is involved. A qualified leak detection professional will possess the equipment and knowledge to efficiently locate the leak and allow for quick repair.
We Are Here to Assist
Here at McWane Ductile, we pride ourselves on our continued customer service; we do not stop helping our customers once they have received the pipe. Do not hesitate to reach out to the McWane Ductile Sales Representative for your area as we are more than willing to answer any questions. We are also ready to visit your job site to assist in finding a solution to the problem. Our technical personnel may very well reduce resolution time from weeks to days.
Most importantly, we want to ensure that any issues or complications are handled promptly. Do not let the problem drag out for one or two weeks before contacting someone from McWane Ductile. The longer the problem persists, the longer the headache and frustration last.


