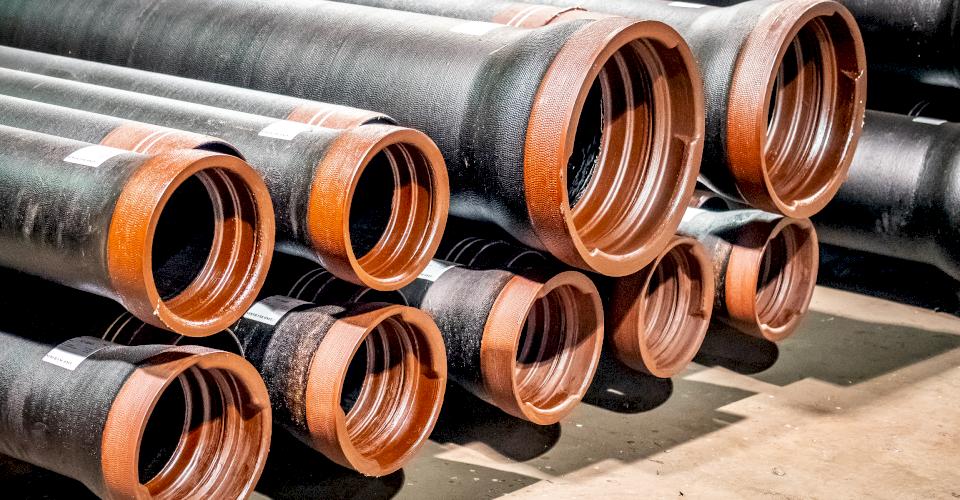
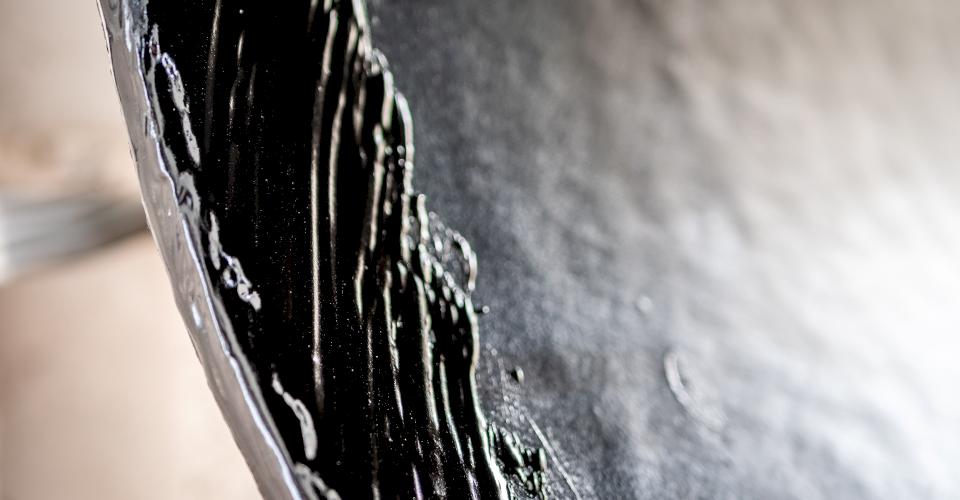
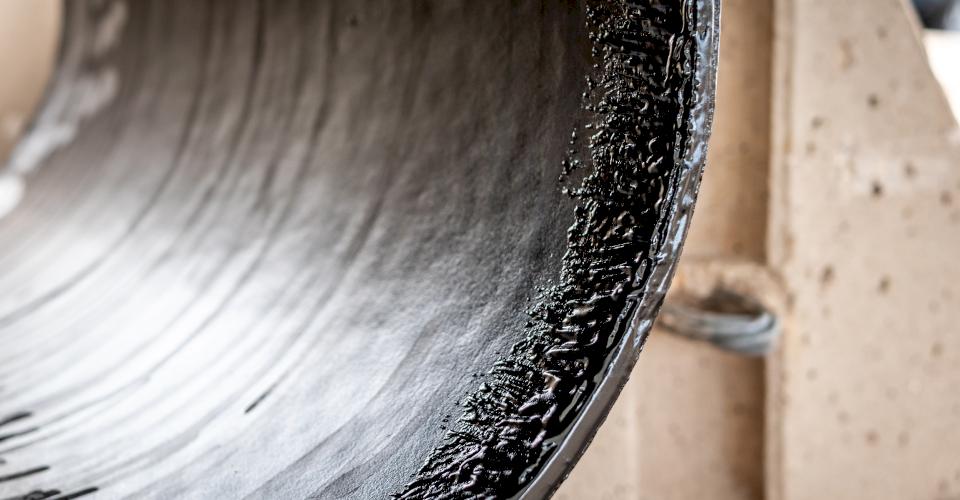
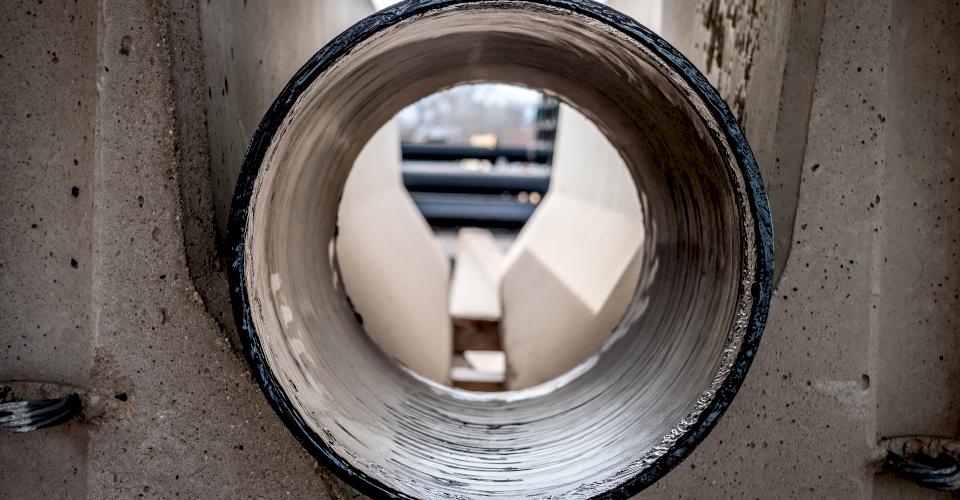
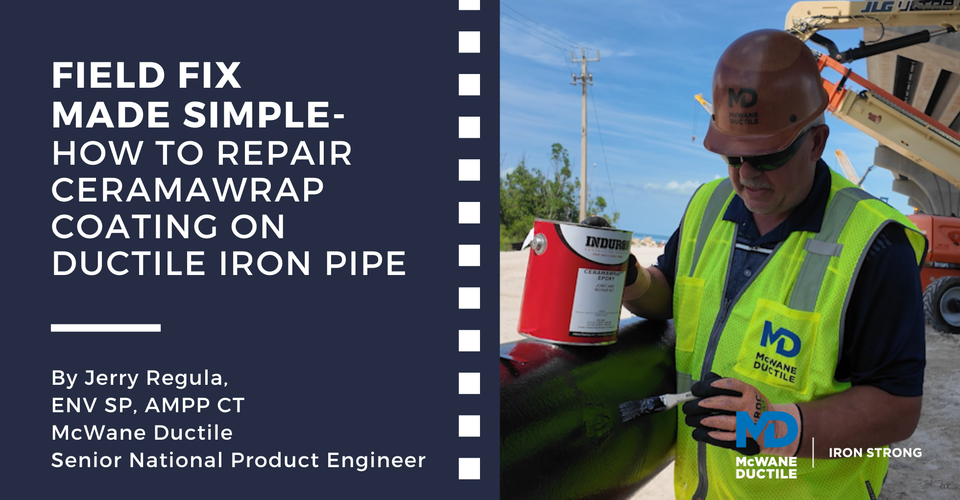
When talking about Ductile iron pipe in sewer applications, many times Induron’s Protecto 401TM comes to mind. Protecto 401 lining has often been the specified lining for Ductile iron pipe in sewer applications for more than 50 years.
Common uses for Protecto 401 are for a sewer force main that may not be fully running, where trapped air may exist, where chemical resistance is required, or for abrasion resistance. There may be occasions in the field when patching of the Protecto 401 lining may be necessary.
In this article, we will cover how to patch the area of pipe that has been damaged, either during the field cutting process or by improper handling.
We will cover from the start of the process, “prepping” to the final step, “applying.” After reading this article you will have all the knowledge needed to complete an in-the-field patch using the Induron Protecto 401® Ductile Iron Sewer Pipe Lining Protecto Repair Kit.
Pro Tip: Protecto 401 lining is for non-potable use ONLY. NEVER use Protecto 401 lining for a potable water line.
Avoiding Patching in the First Place
Before we cover the patching part of this article, lets talk about ways to prevent patching in the first place.
- Components of the sewer system such as piping, fittings, valves, etc. should be lifted using a proper lifting device on the Outside Diameter of the pipe. DO NOT use a chain or a steel cable on the inside of the product.
- Field cutting pipe: Set the pipe on 4’ x 4’s placed on a level plane prior to cutting. This will provide a safe set-up, improving the probability of a nice straight cut.
- Use the proper tools such as a file or angle grinder to remove any sharp edges after cutting the pipe or to bevel a cut end.
Before Starting, Gather Your Materials
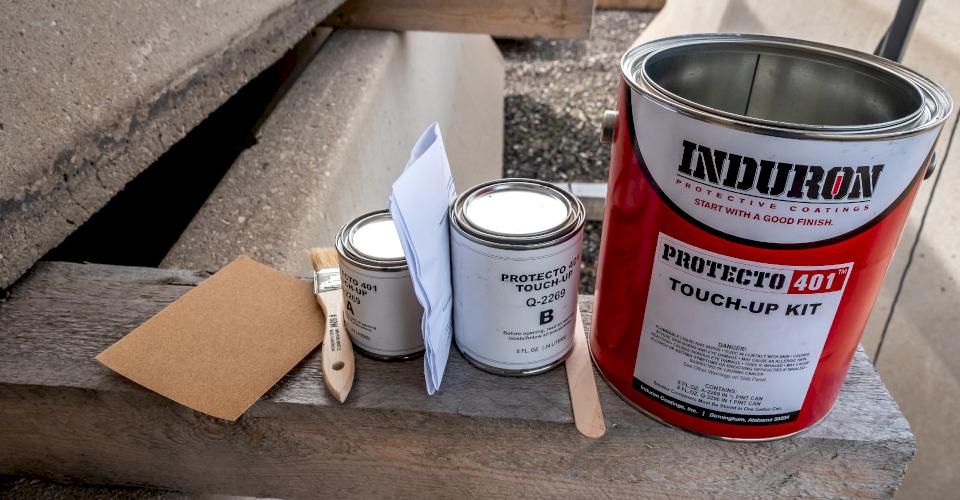
Included in Touch Up Kit
- Paint Stick
- Sand paper
- Stir Stick
- Part A (Small Can)
- Part B (Larger Can)
- Instructions
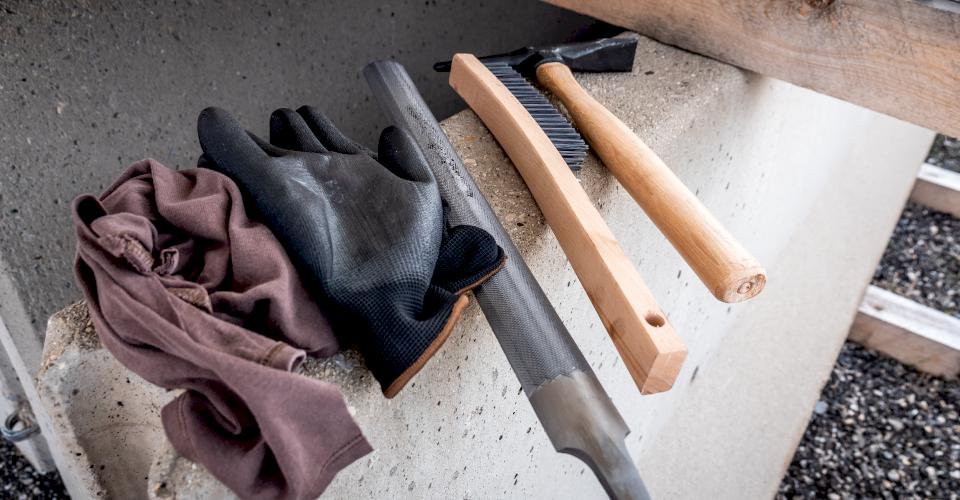
Recommended Material
- Scrapper or Grinder
- Wire Brush
- Gloves
Prepping for Repair
Pro Tip: Ambient temperature must be above 40 degrees Fahrenheit prior to patching Protecto 401.
- Remove all burrs caused by field cutting or by bad handling. Smooth out the edges before you start the process to ensure that you don’t cut yourself on loose metal flakes.
- Remove all traces of asphalt, grease, dirt, dust, etc.
- Remove any damaged lining caused by bad handling or field cutting. You can do so with a scraper and a wire brush.
Pro Tip: Sandblasting or power tool cleaning roughening is also acceptable. If you have power tools, this will speed up the process and save you from using shear elbow grease.
- It is also recommended to remove loose lining by scraping, cutting, or chiseling into a well-adhered area before patching. After removing the damaged lining, make sure to file the exposed area down to bare clean metal to ensure the epoxy adheres while filing. Make sure to remove the sharp edges off the well-adhered material to create a smooth transition from new material to the factory applied material.
- After the loose material is cleaned out and you are down to bare metal, make sure to “roughen up” the metal, similar to “roughening up” a piece of wood prior to painting it.
Mixing the Kit
Included in an Induron Protecto 401 Repair Kit, you will find two cans of Protecto 401 Touch-Up material; one small can marked A and one larger can marked B. Due to Protecto 401 being a two-part epoxy, you will mix the contents of can A and can B into the one-gallon can provided. This will allow room for mixing and reduce the chance of spilling any contents.
Pro Tip: If using less than the full amount of the content in the cans, use the ratio printed on the cans to ensure a proper mixture.
After adding the contents of the smaller can to the contents of the larger can, be sure to thoroughly mix up the batch.
After mixing the batch of Protecto 401 Touch-Up, the material should be used within one hour.
Applying the Epoxy
Once the surface to be repaired is clean and prepped, and the Protecto 401 Touch-Up Kit is thoroughly mixed, you can apply the epoxy using a clean brush.
Apply material to the prepared surface with a clean paint brush using a dabbing motion to help fill the bare surface without getting too much Protecto 401 material on the surface.
Included in your patch kit is a technical data sheet that will cover good practices for apply Protecto 401 Touch-Up epoxy.
Pro Tip: Overlap the newly brushed material over the factory applied material about an inch to make the two materials look like one and to ensure proper sealing. Don’t forget about the spigot end of the freshly cut pipe. You will need to coat this as well.
Additional Information
- Induron Protecto 401 Touch-Up should be used only on spigot and bell ends and only after the pipe/fitting is lined with Protecto 401 ceramic epoxy.
- Protecto 401 Touch-Up can be used on bare surfaces and over top of Protecto 401.
- DO NOT apply Protecto 401 over The Protecto 401 Touch-Up.
- DO NOT apply Protecto 401 on wet or frozen surfaces.
- To clean up use, methyl ethyl ketone.
- MSDS sheets available upon request.
Check out this link for added information on linings for sewer applications: “What Pipe Linings Are Best for Sewer Applications? By Dusty Henderson, McWane Ductile Sales Representative.
Summary
With proper care and attention to detail, the need for repair could potentially be avoided all-together. IF YOU DO happen to damage the ductile iron pipe with Protecto 401 liner you can now feel confident knowing what it takes to patch the small areas affected. Just remember the three easy steps: Prep-Mix-Apply.
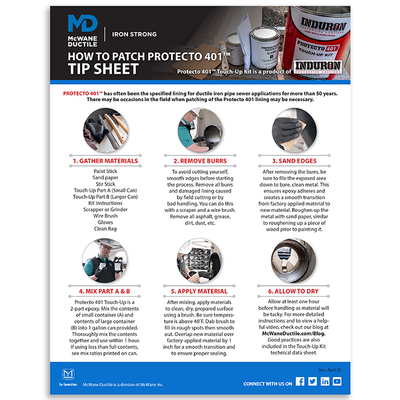
There may be a day you must patch an area of Protecto 401 lining. Do it correctly by following this free, handy Protecto 401 repair tip sheet from McWane Ductile.
Need Assistance With Your Water Infrastructure Project?
McWane Ductile offers multiple services for our customers extending far beyond manufacturing ductile iron pipe. From design to installation, we take great pride in providing education and training to water professionals throughout the water and waste water industry. Together, we are Building Iron Strong Utilities for Generations!
Check out all our digital offerings:
