Every day around the world, Ductile iron pipe is being installed and used to provide individuals and families the luxury of having quick and easy access to clean water. From the manufacture to the contractor, the end goal is the same; that each pipe joint form a watertight seal after proper assembly.
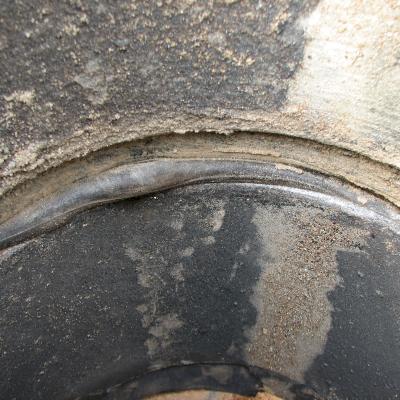
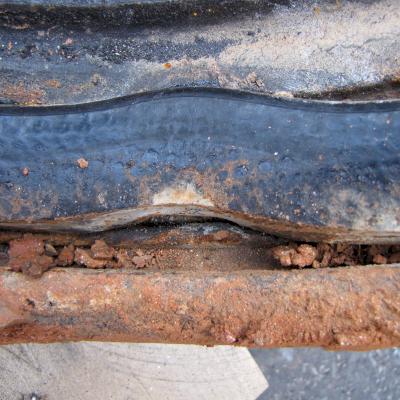
A displaced or rolled gasket creating water loss in a ductile iron pipeline is one of the most common errors that occurs during joint assembly. Using the resources and experience of McWane Ductile’s long history of manufacturing iron pipe, this blog will provide some helpful tips regarding how to avoid this costly mistake when installing push-on joint pipe.
Do It Right and Watertight
As we all know, in this industry, locating water loss from a leak is very frustrating and can vary in difficulty depending on the circumstances of the project and the location of the leak.
By following these few easy steps and tips, you can be sure that each joint on your current or next project will have the desired watertight seal. These tips can also be included in your training toolbox to use during your next onsite start-up meeting with your underground crew.
Use the Following Tips Along With Your Joint Installation Instruction.
Step #1 – Preparing the Joint
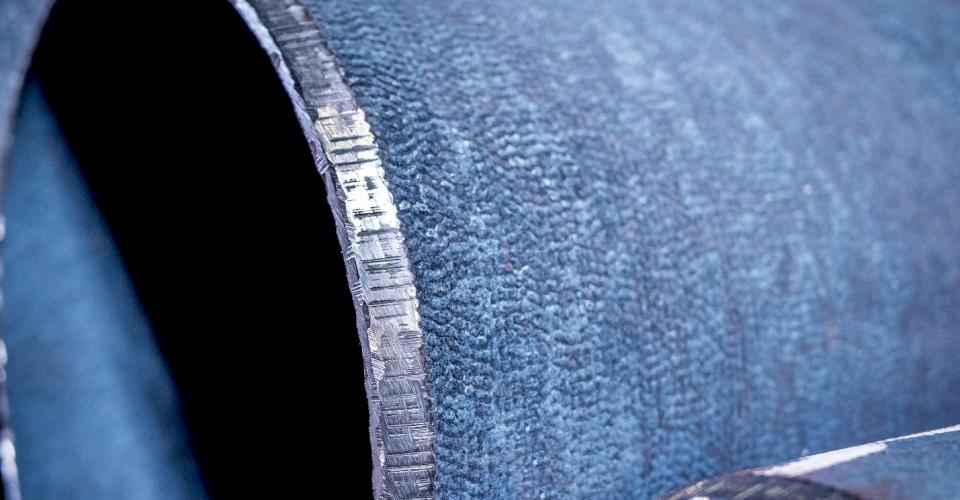
Thoroughly clean the bell and spigot of the pipe joint, removing all debris while paying close attention to the gasket seat or socket inside the bell of the pipe. If you are cutting a pipe, be sure to re-bevel the spigot end if inserting into a Tyton® joint connection with the proper taper before assembly.
Pro Tip #1 - Each push-on joint has a gasket designed to match the socket in the bell. If you are working with multiple joint designs, make sure you are using the intended gasket for the joint you are assembling.
Step #2 – Proper Gasket Placement
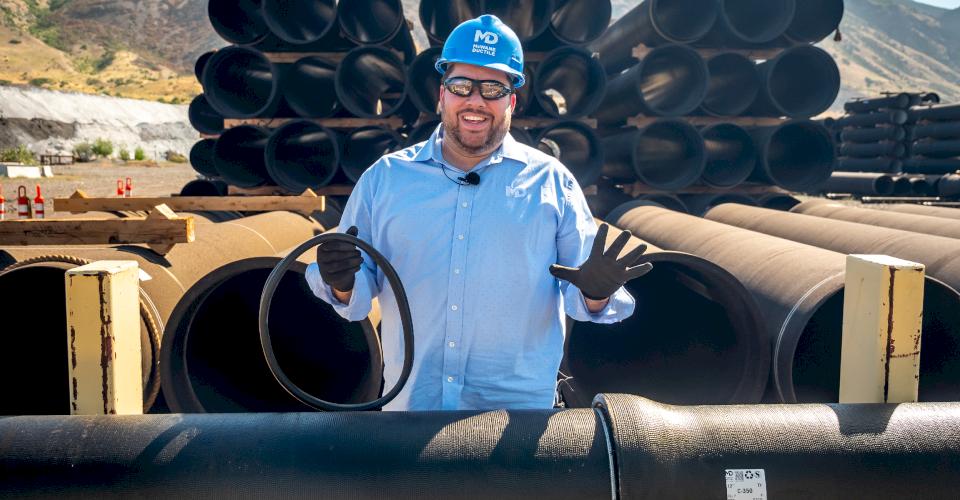
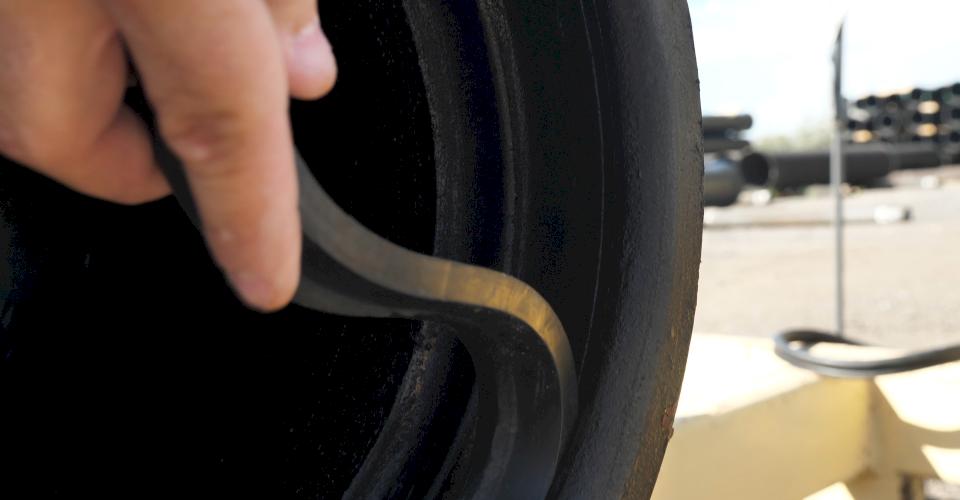
When placing the gasket in the bell socket, be sure to lay the gasket in the right direction. Installing the gasket in the wrong direction will cause the gasket to slip out of the socket when inserting the spigot into the bell. Also, be sure that the gasket heel is inserted into to the retainer groove area and not behind it.
Step #3 – Proper Joint Lubrication
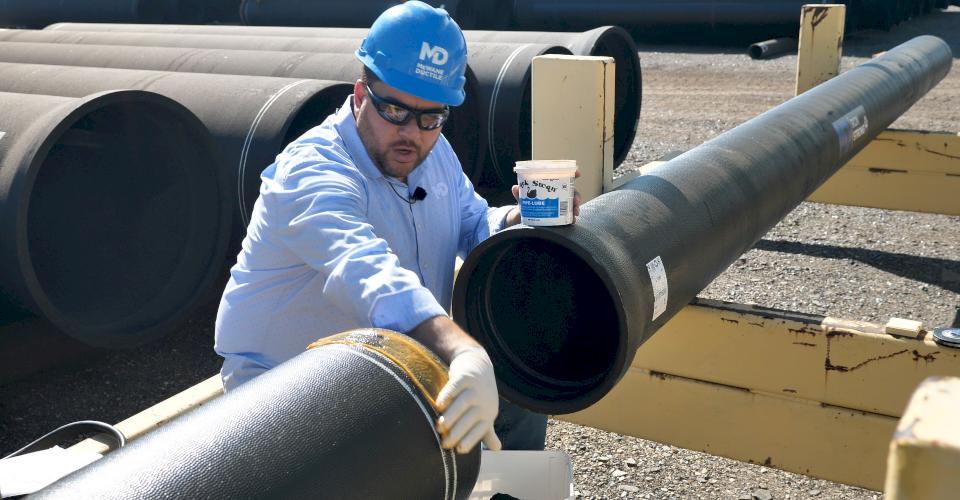
Do not apply pipe lube into the bell socket before inserting the gasket. The pipe lube should only be applied to the exposed part of the gasket after it is installed in the bell. If lube is placed between the gasket and the bell socket, the gasket may slip out of the socket during assembly and become “displaced.”
Pro Tip #2 - In areas of cold or freezing temperatures, warm the gasket to room temperature before installation. A good practice is to remove the gaskets out of poor weather conditions by placing them in a job trailer or in the cab of a truck. Check out our Iron Strong Blog on Proper Gasket Storage and Care by Josh Baker.
Step #4 – Insertion of the Spigot into the Bell
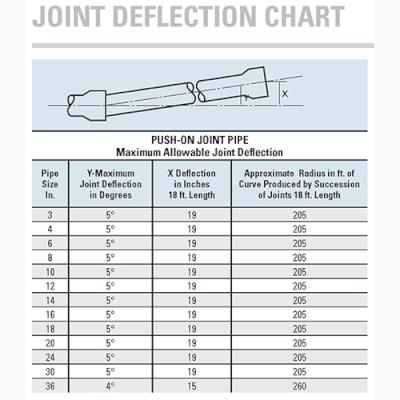
Always align and insert the spigot before deflection of the joint. If your trench is tight and you are deflecting the pipe in any direction before assembly, the edge of the spigot can catch on the gasket and roll or tear it.
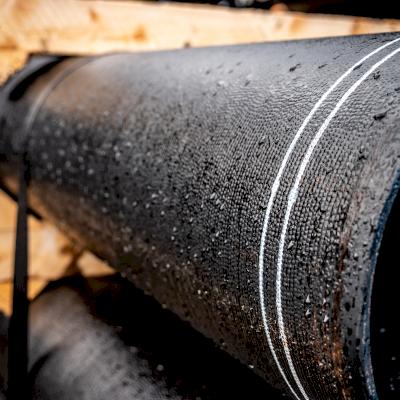
Pro Tip #3 – Use the spigot stripes as a guide to keep the pipe straight and level. After assembly, the face of the bell should align between the two spigot stripes. This assures that your pipe insertion is complete. They also serve as a guide when deflecting the joint. As a rule, the face will be between the spigot stripes even after deflection has been made.Check out our Iron Strong Blog on How Spigot Stripes Assist in the Assembly of Ductile Iron Pipe by Carolyn Lopez.
Step #5 – Visual and Touch Inspection
It is always recommended that a quick visual check be performed after assembly and deflection are complete. Using a flashlight, look down the barrel of the pipe to inspect the joint. Most extreme rolled gaskets can clearly be noticed as a bulge of rubber.
Pro Tip #4 - Check the barrel of the pipe with a feeler gauge to be certain. The feeler gauge (small rod, a thin piece of metal, or even a paper clip) will help verify if the gasket is seated where it should be. You do this by inserting the feeler gauge between the small gap that exists between the bell face and the spigot. Continue to feel around the joint with the gauge. The gauge will identify voids or if the gasket has slipped out of socket.
A Little Effort Goes A Long Way
By utilizing these assembly steps and tips, you will begin to understand the value that they bring. These steps may seem mundane, but the few minutes it takes to follow them at every pipe assembly can save you a world of trouble and dollars later when pressure testing your pipeline. Be sure you do it right, so your pipeline is watertight.
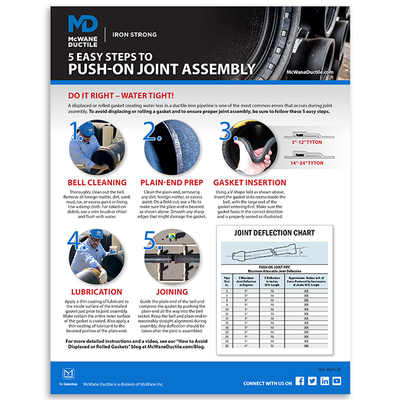
Do it right – watertight when assembling Ductile iron push-on joints
Use our free and handy tip sheet when constructing your pipeline.
Want more tips and instruction to help your team succeed in the field?
Please contact your local McWane Ductile Sales Rep to request a Lunch & Learn, a Day of Water, or on-site training before installing your next ductile iron pipeline. McWane Ductile provides free training and education to suit your needs.
Check out all our digital offerings:

