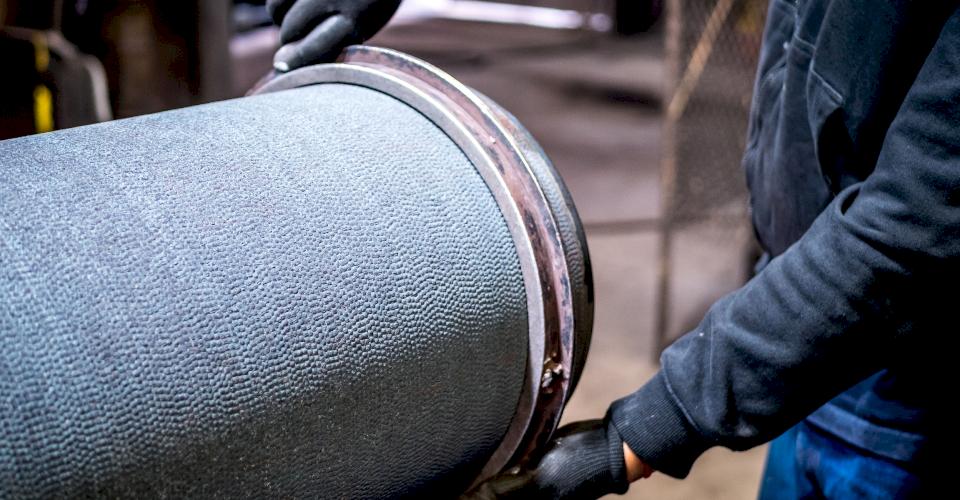
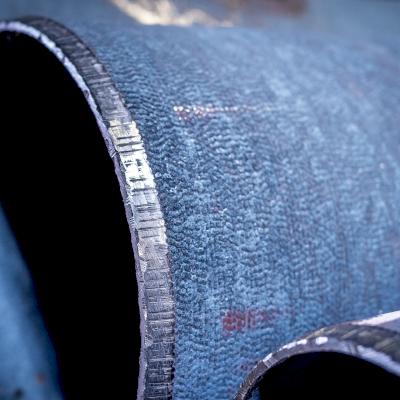
It’s important to know the proper way to cut a Ductile iron pipe (DI pipe) in the field. Some pipe jobs happen in remote locations where an avoidable mistake could become very costly, adding days or even weeks to your installation time. In this article we will discuss the correct way to measure and cut a DI pipe.
Getting Started
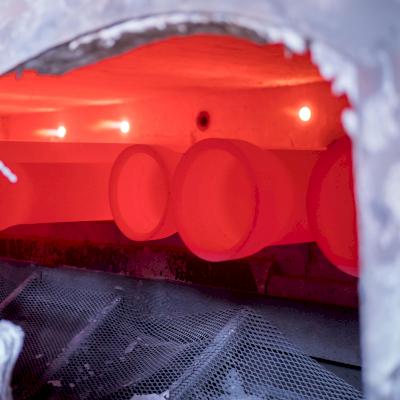
Before you cut a DI pipe, it is very important that you select the right piece to cut. During the manufacturing process, pipe can experience slight changes in shape due to heating up and cooling off during the annealing process.
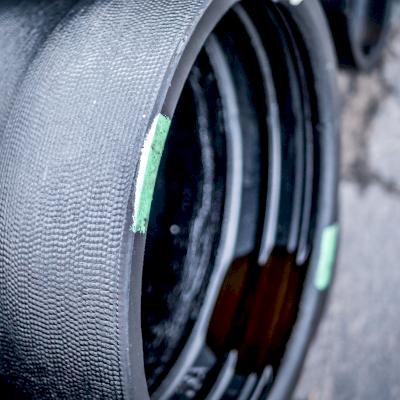
All of the pipe are checked during the manufacturing process at the factory. The DI pipe 14 inches and larger that are marked with green tabs on the bell face are deemed ready to be cut in the field. This also signifies that the pipe is “gauged full length” and can be cut with assurance your new spigot end will fit properly into the pipe or fitting bell during installation.
Note: McWane Ductile recommends measuring before every cut even if the pipe is marked as gauged full-length pipe to avoid any possible problems during installation.
6 Easy Steps to Cutting DI Pipe
Step 1: Gather the Necessary Tools:
Below is a list of recommended tools you should have available for cutting DI pipe in the field:
- Outside Diameter (OD) tape measure
- Chalk, Crayon, or marking paint pen
- K-12 gas powered saw with abrasive wheel
- Angle grinder
- Company required Personal Protective Equipment (PPE)
Step 2: Pipe Selection if very important before making a field cut.
Before a cut is made, always check to ensure the pipe is suitable for cutting as per the recommendations above.
In general, all pipe 12 inch and smaller can be cut starting two (2) feet from the face of the bell to the end of the spigot. For pipe 14 inches and larger, look for the green paint tabs on the bell face. It is helpful to set these pipe aside at the time of delivery for use when a field cut is needed.
Step 3: Once a pipe is selected, measure to be sure.
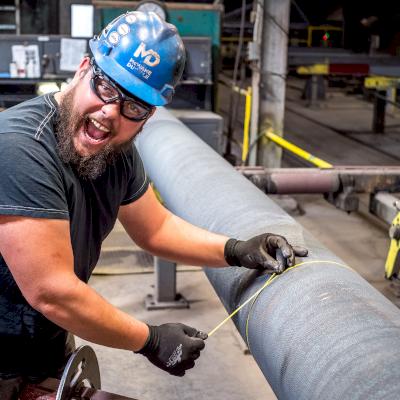
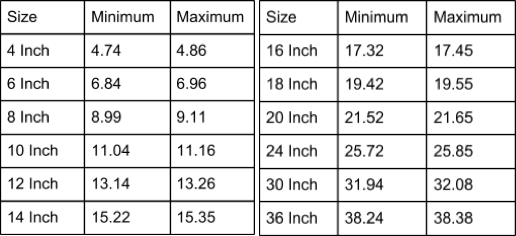
Using an OD tape and the DI pipe outside diameter chart, check the circumference and ovality. This can be done by measuring around the pipe and across the horizontal and vertical axis. This will verify the OD is within the min/max limits and that the pipe will make a good seal.
In the video, a 16-inch pipe is being cut and is first checked to see if it is within 17.32-inch to 17.45-inch. If the pipe had been smaller or larger than this range, we would have needed to find another pipe to cut.
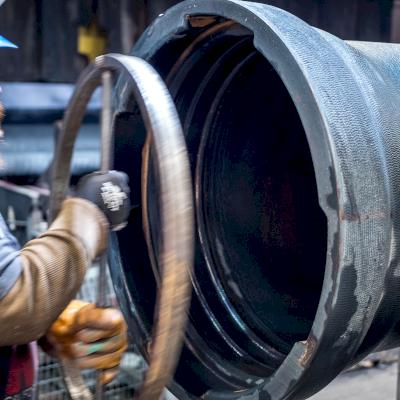
Pro Tip: In the field, a Mechanical Joint (MJ) gland can be used as a gauging device.
Step 4: Mark a line all the way around the pipe.
Have a coworker help you roll the pipe as you hold the chalk or crayon to mark where the cut will be made. Be sure to keep this line straight as the pipe is moving as it will be much easier to make a clean cut if you have a straight line to follow. McWane likes to use Markal Paintstik’s to write on pipe in the foundry.
Tech Tip: Our inspectors check the bell and spigot end of every length of DI pipe we manufacture. And while the bell and spigot can be correct, the middle of the pipe may have changed shape just enough to cause a problem. This is why McWane Ductile and the American Water Works Association recommends that you measure and double check using and OD tape before making any cuts.
Step 5: Use the K-12 saw to make your cut.
Use the saw to make your cut along the line. Have a co-worker help you roll the pipe so you can stay focused on safely while handling the saw during the cut. This will also help you follow the line in order to make a straight and clean cut.
Safety Tip: The PPE worn by the saw operator in the video is leather chaps, welding gloves, steel toe boots with metatarsal protection, safety glasses, and a hard hat with face shield. Your company may have different requirements, so be sure to check with your supervisor or safety representative before using the saw.
Step 6: Use an angle grinder to bevel the edge of the pipe.
If you are working with a Tyton® Joint (TJ), you will need to bevel the edge of the pipe to a 30º taper before installing it so it doesn’t cut, push, or roll the gasket. If it is a Mechanical Joint (MJ), no bevel is needed and other than removing any rough edges, the pipe will be ready to install as soon as it’s cut.
Safety Tip: Some contractors use the K12 saw to both cut the pipe and bevel it. This may be faster than tracking down a generator and a grinder, but McWane Ductile recommends using the proper tool for the job.
Pro Tip: Cutting Ductile iron pipe with the K12 saw will add to your overall installation time. You should factor in about one minute for each inch of pipe. 16-inch pipe will take about 16 minutes to cut.
Don’t be too frustrated if you make mistakes in the beginning. After you cut a few pipe, you should begin to feel more comfortable when handling the saw and you should be able to make a clean cut every time.
If you have more questions please reach out to your local McWane Ductile sales representative.
Need Assistance With Your Waterworks Project?
McWane Ductile offers multiple services to our customers extending far beyond manufacturing Ductile iron pipe. From estimating to design, from production to installation, we take great pride in providing education and assistance to water professionals throughout the water industry.
Check out all our digital offerings:


