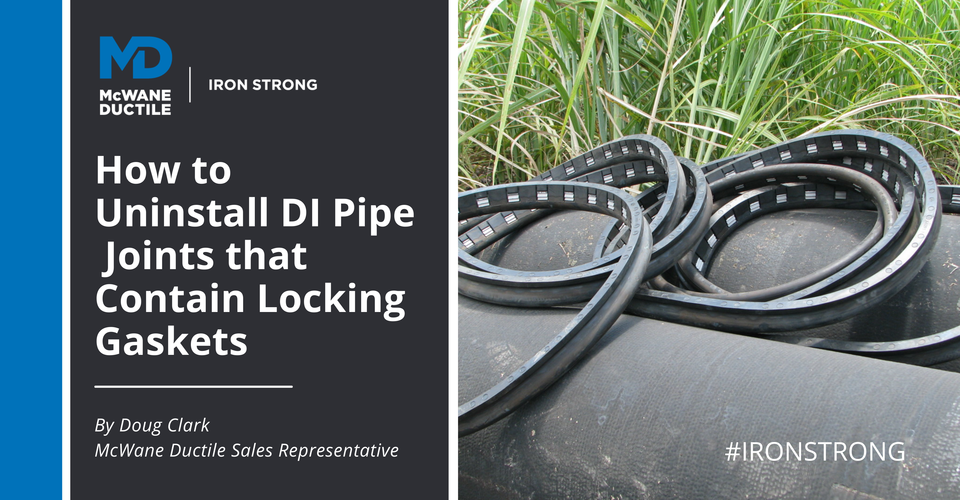
Have you ever been on a Ductile iron pipe (DI pipe) installation with restrained joint gaskets and needed to uninstall a previously assembled joint? This is normally prompted by the need to replace a displaced or a “pinched” gasket. Proper gasket placement and attention during assembly is the best way to avoid such conditions, as detailed in a previous blog by McWane Ductile. Unfortunately, the problem often does not arise until the pipeline is hydrostatically tested. In today’s Iron Strong Blog, we will examine the “Dos & Don'ts" of uninstalling with DI pipe restrained joint gaskets.
THE DON’T’S
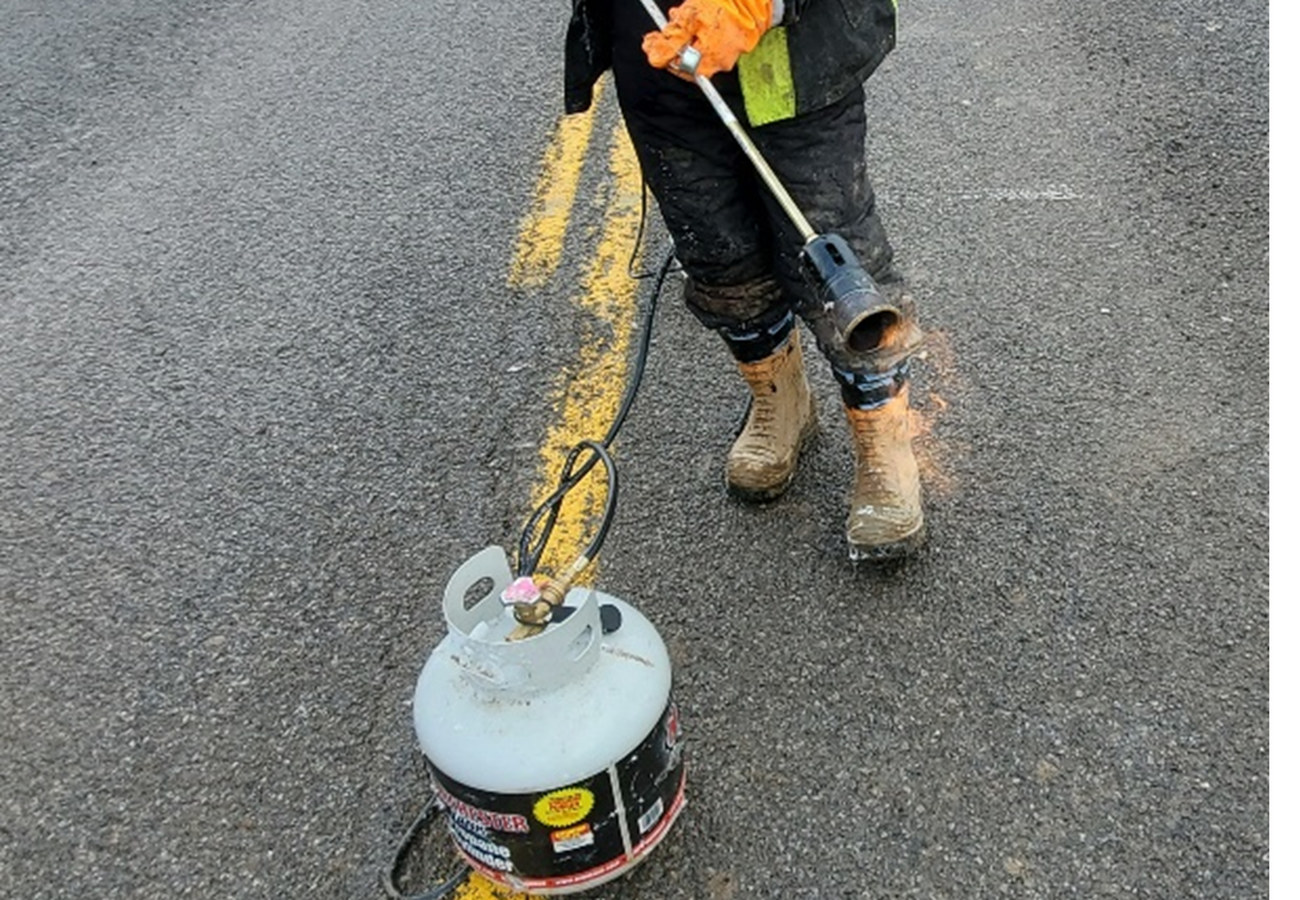
DON’T Blow Torch the Gasket
A vast majority of the gaskets used in the Ductile iron pipe industry are made of styrene-butadiene rubber, commonly referred to as SBR. While SBR gaskets are reliably listed as safe for continued contact with potable water per NSF-61, chemical composition tests on combusting rubber have shown a likelihood for the release of hazardous air pollutants being released while burning.
All you need to ask yourself to realize this concern is, "would you breathe the smoke from a burning pile of car tires?" Tires ─ not harmful. Smoke from the burning tires ─ not good.
Beyond the concern of the fumes, the residue and mess created within the joint from the melted rubber might create sealing problems with the replacement gasket. Simply put, the burning of the rubber gaskets is never recommended by McWane Ductile.
DON’T Expect to Pull Apart with Equipment
Once the pipe barrel exterior has engaged the steel restraining segments of the gasket, no matter how slight the spigot intrusion, there generally is no "backing out," regardless of how big the excavator or dozer you attempt to pull with.
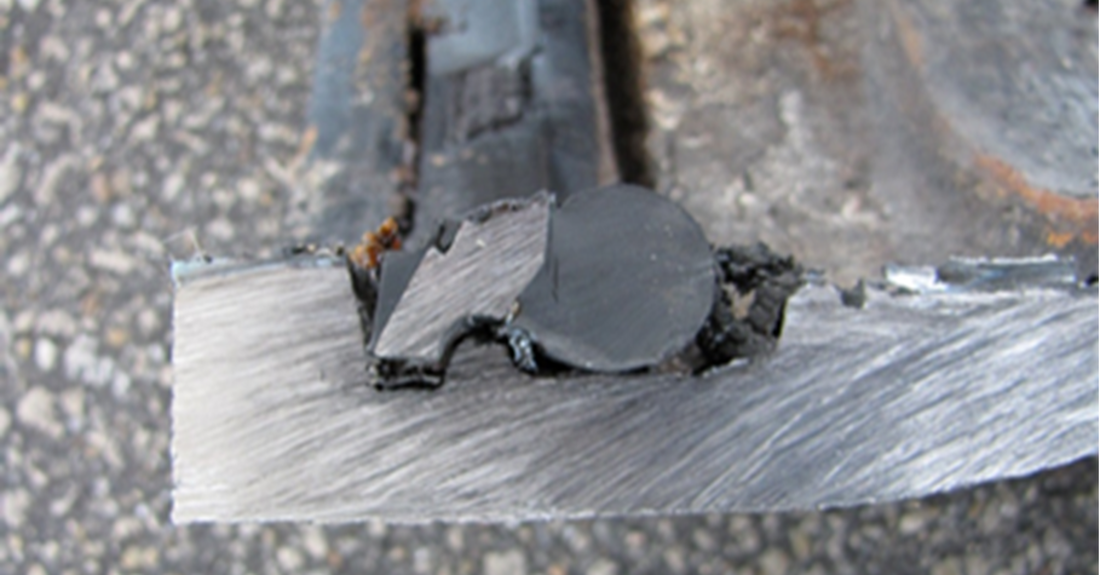
During original installation, as the spigot begins to compress the O-ring of the gasket, the heel portion of the gasket rotates toward the barrel creating the initial engagement of steel teeth into the pipe surface. Lucky is the instance where the pipe entry reverses successfully without the restraining gaskets preventing it.
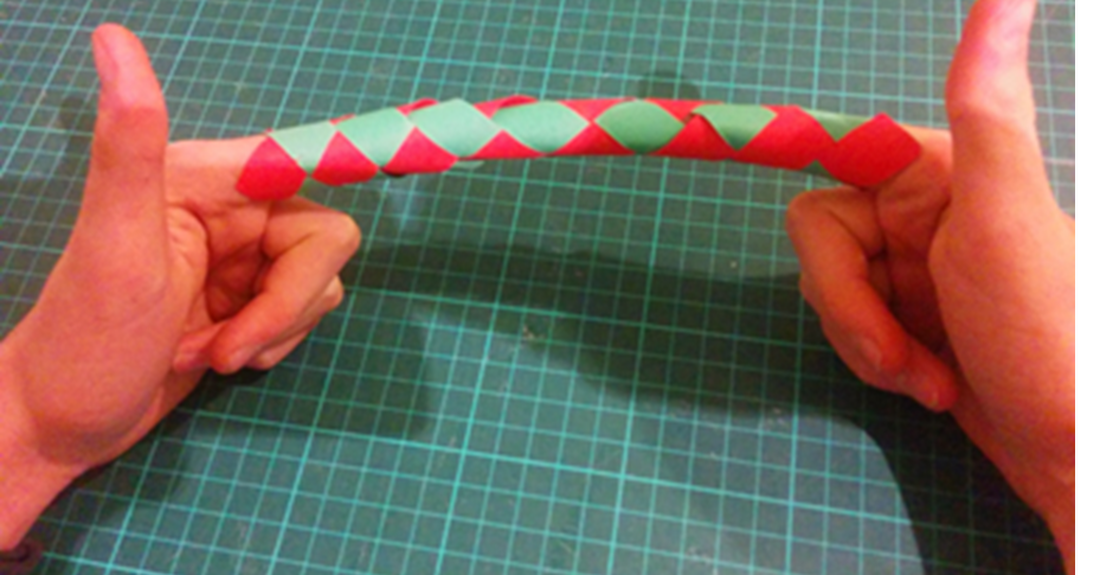
Think of younger days when you might have used one of those paper "finger-trap" toys where the harder you tried to pull your fingers out, the more the toy gripped them.
Remember, although the pipe may feel light when it is handled by a sling ─ you can easily push it around or up and down with just a single hand ─ based on size, it still weighs hundreds to thousands of pounds.
Suppose all that weight presents ─ even for an incidental moment ─ upon a single or perhaps two steel segments within the gasket during the alignment portion of the installation. In that case, the gasket will tend to be disturbed in position, increasing its chance of pinching or dislocating during the final assembly push.
Suffice it to say 1,000 pounds of pipe wins every time against 2 ounces of isolated rubber, and the initial disruption can be so slight you may not notice it visually. McWane Ductile has a Sure Stop® Gasket Installation Tip Sheet available to download for free to help you avoid common mistakes documented across the industry. Check it out by clicking the download button below.
THE DO’S
DO Use a Disassembly Kit, Maybe
These Ductile iron pipe-industry marketed kits come with an anvil and high-strength shims. In large part, these kits have shown to be more "wishful thinking" than the ideal performer.
To install the shims, they are inserted one at a time into the anvil with approved pipe joint lubricant applied to the leading edge of the shim. To create a full 360° ring of shims takes considerable time, patience, and hammer control, especially in the cramped conditions of the average pipe trench. Even in the best case, they do nothing to preserve the useability of the gasket.
They may also be quite expensive and difficult to obtain compared to other options. Not to mention the confines and structure of an in-trench assembled pipeline make it nearly impossible to “expand” the joint enough longitudinally to clear the shimmed spigot from the pipe bell.
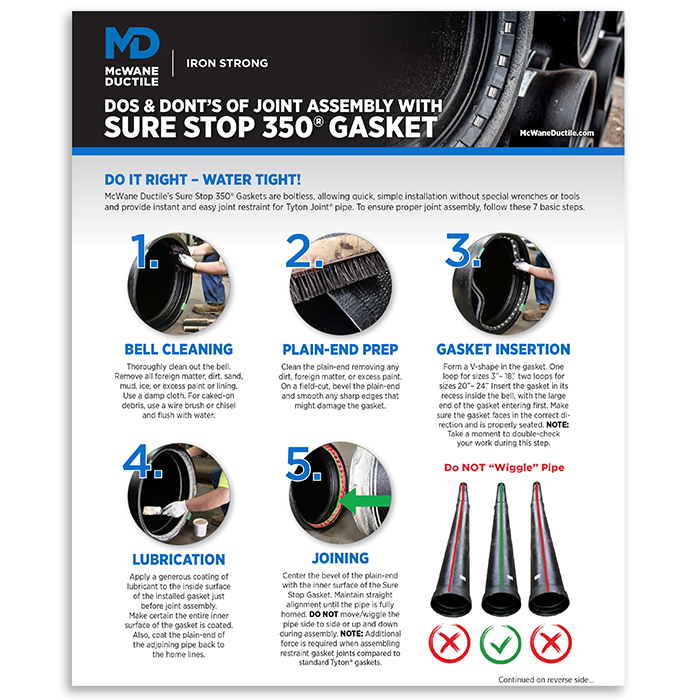
Do it right – watertight, when installing Sure Stop 350™ Gaskets. Use our free and handy tip sheet to ensure proper joint assembly.
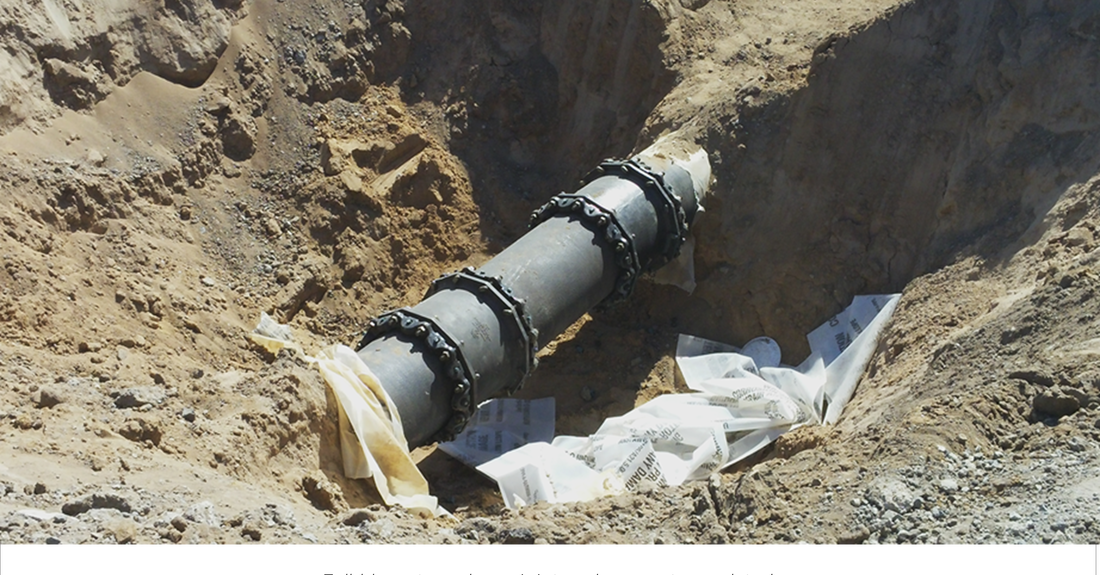
DO Clear the Joint and Reclose with a Mechanical Joint Connection
There are two options for this method:
- single-sleeve repair
- two-sleeve replacement.
If choosing to perform a two-sleeve joint replacement:
- The entire joint is removed by cutting it adrift at least two feet from either side of the bell face.
- Two AWWA C153 compliant Mechanical Joint (MJ) sleeves are then used to replace the affected joint with a spool piece of pipe barrel in-between.
- Be sure to follow proper techniques when it comes to safe and appropriate cutting of DI pipe, whether to remove the joint intact or create an appropriately fitting spool piece to fill the subsequent void between the sleeves.
As an alternate, the affected joint can be repaired, not replaced, by removing the original spigot and gasket then using a new gasket in the existing bell and a short spool piece with either an as-cast factory bevel or a field-applied bevel on the piece cut adrift to evacuate the original damaged gasket.
That decision and the length of the spool piece are entirely dependent on the installers' level of comfort and skill with assembling short spool pieces into a push-on joint. Spool pieces less than 3-feet in length can be difficult to prevent "wiggling" during the push-home to finish the joint.
To affect a one-sleeve repair:
- Cut the barrel approximately 3 to 5-inches in front of the bell face.
- Make another 360° cut around the barrel at whatever distance back from the first cut affords the installer a comfortable working space.
- Make two additional longitudinal cuts 6 to 9-inches apart along the inside of the small section of the barrel remaining in the bell.
- Remove the coupon created
- use a ratchet strap to crimp the gapped ring and remove the spigot without damage to evidence below or the bell that will be reused.
- Reassemble the joint with a spool spigot that contains an appropriate bevel for insertion across a new restraining gasket and close the gap in the pipeline with a single sleeve.
- When measuring the spool piece to finalize the repair, include the inside length of the bell socket in the overall spool considerations.
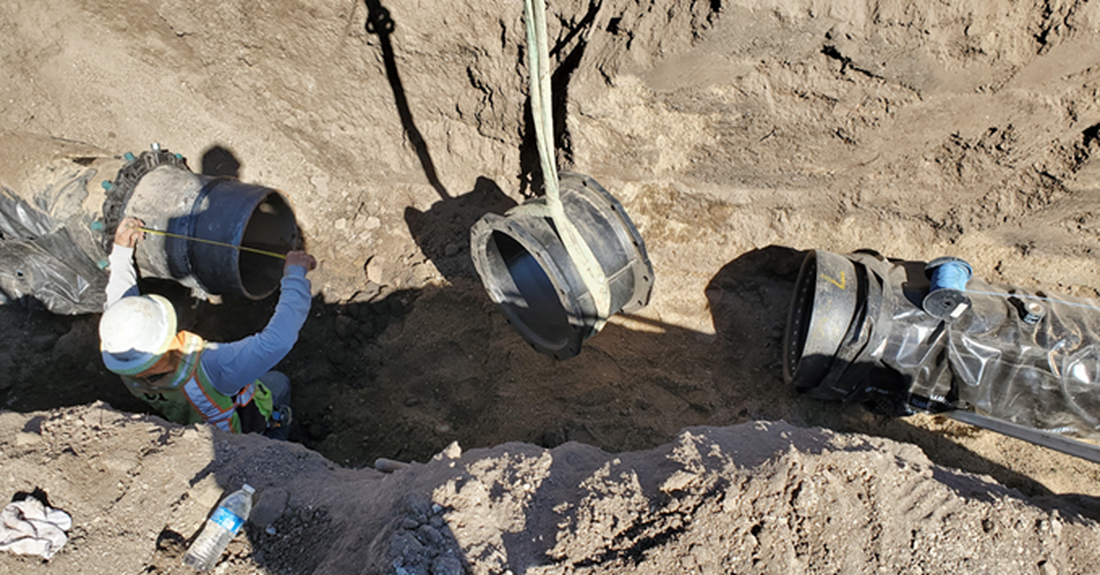
Cut and replace by either method is by far the most practical and expedient approach in actual field situations in large part because:
- It is the most cost-effective way for time, material, and labor considerations.
- Sleeves are readily available. In most cases, you could pick one up from a local distributor the same day.
- The repair or replacement of the joint is no "patch" or temporary fix. It is a structural installation equal or better to the original pipe, given that sleeves are merely fittings without any offset to them. They create no hydraulic consequence upon the pipeline.
If you have any questions about this topic or any other topics, please contact your local McWane Ductile sales representative. We have team members who've managed small and large water utility systems, served in engineering consulting firms, and bring decades of experience in solving field issues involving pipeline construction and operation. From design to submittal, to installation, we strive to provide education and assistance to water professionals throughout the water and wastewater industry.

