WHAT DO I DO WITH AN OUT-OF-ROUND PIECE OF DUCTILE IRON PIPE?
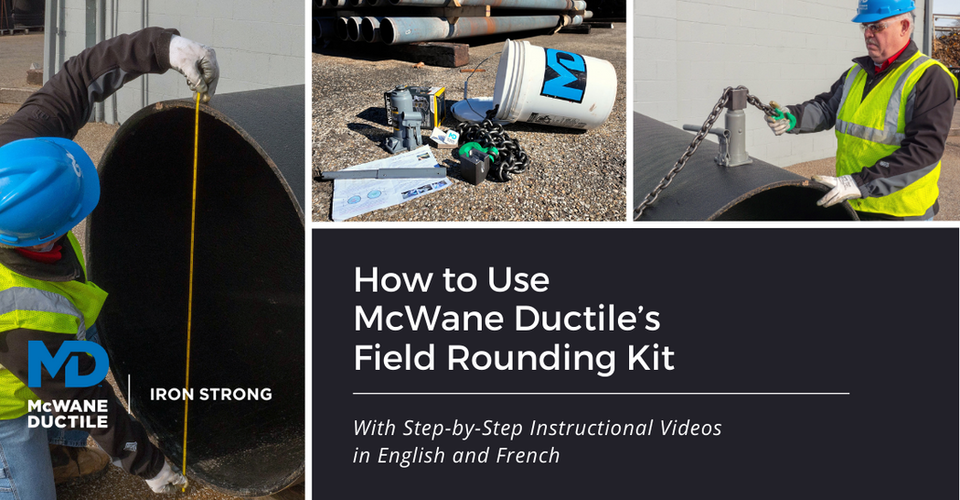
Is every piece of Ductile iron pipe (DI pipe) round? The short answer is no, but most of the time, a piece of pipe may be so slightly oval that it is not even noticeable to the end user. In fact, the way pipe is manufactured today, out-of-round issues are rarely a concern. At our foundries, there are quality assurance procedures in place that help safeguard this from occurring. However, there are occasions when you may encounter a piece of pipe in the field, typically on a field cut, that is too oval to facilitate an easy assembly. This #IronStrong Blog provides step-by-step instructions on how to round an oval ductile iron pipe using a field rounding kit.
Before we get into the nuts and bolts, let’s talk about ovality. In the pipe world, ovality is defined as “a deviation from the circular nominal cross-section.” Pipe made of any material can become oval or out-of-round. This can occur due to various factors, from the manufacture of the pipe to shipment and its handling upon receipt. Because Ductile iron pipe is designed as a flexible conduit, there is a chance it can become oval.
Being out-of-round, sometimes called “egg-shaped,” does not make the pipe defective, but it may require using the McWane Ductile Rounding Kit. The kit won’t magically shrink or grow your pipe, but it can help make it round again. Once the ovality is adjusted, the pipe can easily be installed in the bell of another pipe, valve, or fitting. Then, you can proceed with the typical installation of your pipeline.
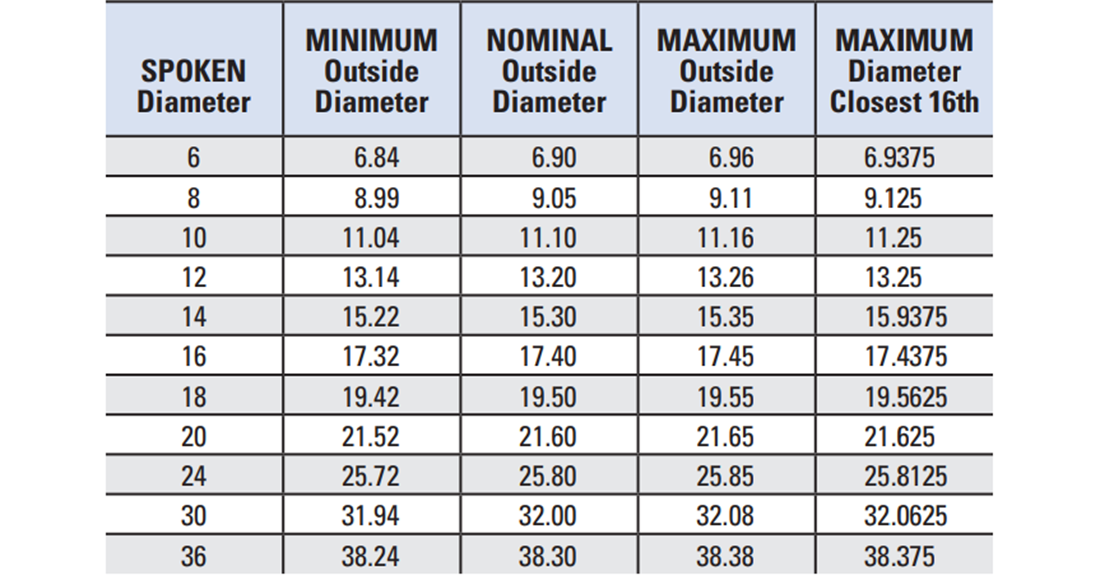
PRO TIP: If you viewed our earlier blog about measuring your pipe before you cut, you would know that measuring the Outside Diameter (OD) prior to cutting the pipe is essential. A “green bell” or gauged pipe does not mean it will always be round. Cutting a pipe with an OD near the minimum of the AWWA C151 OD Standards (see chart below)is a step in the right direction.
How to use the rounding kit
Other rounding kits, both internal and external jacking systems, are available in the Ductile iron world. The McWane Ductile rounding kit provides a simple method to temporarily change the shape of your Ductile iron pipe—from the outside—in plain view during joint assembly. The kit is designed for 36-inch pipe and down. It is not intended for pipe sizes above 36 inches in diameter. Heavy-wall pipe (wall thickness ≥ 0.50 inches) may require internal rounding.
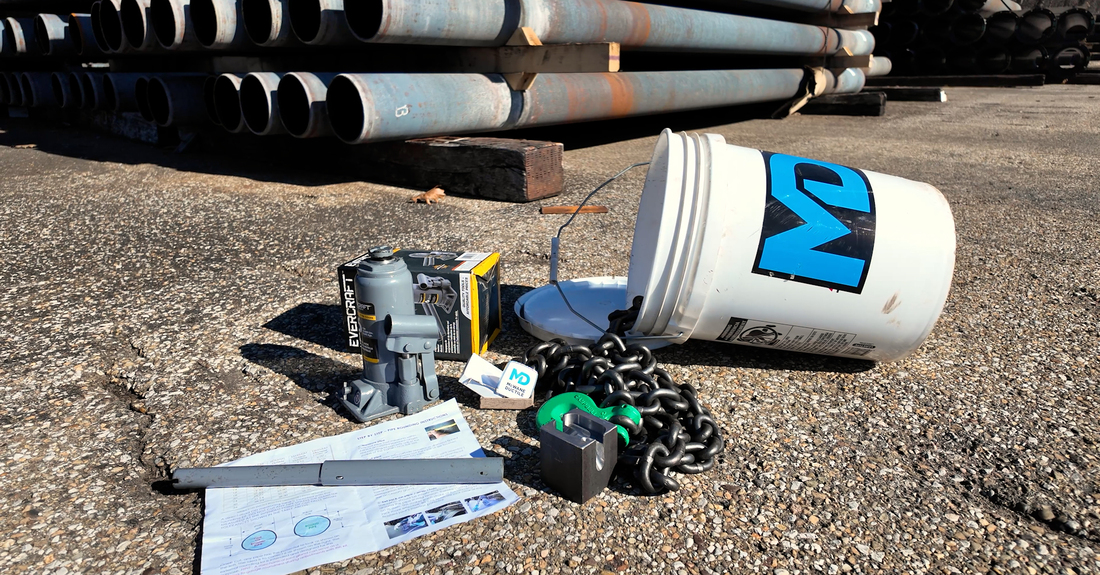
The McWane Ductile Rounding Kit includes:
- Handy Storage and Carrying Bucket
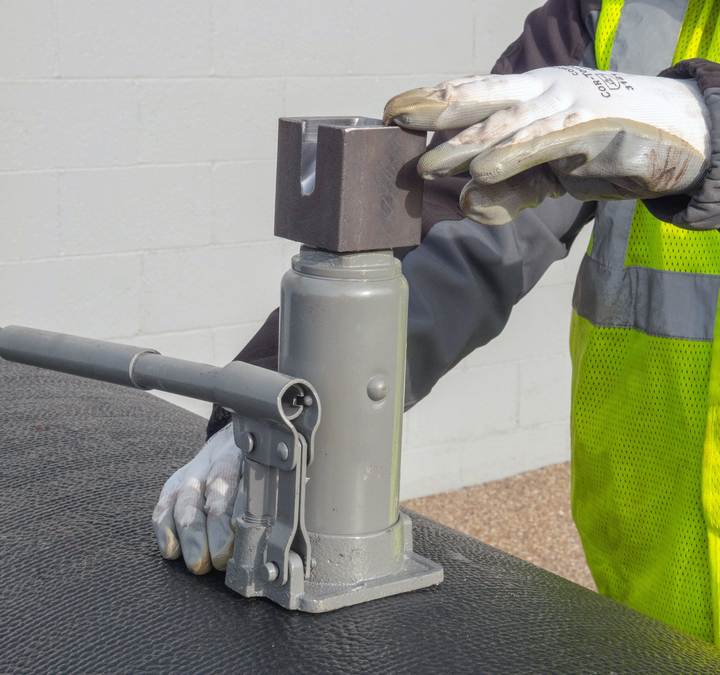
- Jack
- Block for Jack
- Chain
- OD (Outside Diameter) Tape
- Instructions for Use
STEP – BY STEP INSTRUCTIONS
1. USE PROPER PPE – Wear the personal protective equipment your employer recommends before performing this procedure.
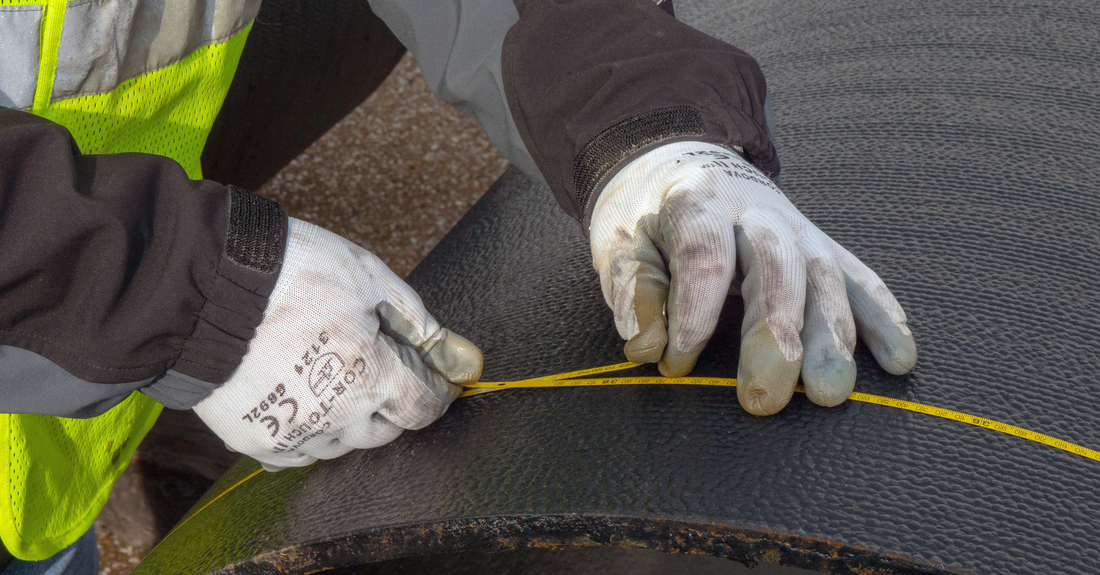
2. MEASURE PIPE— Always measure the pipe where you plan on cutting it using an OD Tape. Ensure the area falls within the AWWA acceptable standards range, as shown below. See our helpful blog and video on How to Use an OD Tape on DI Pipe.
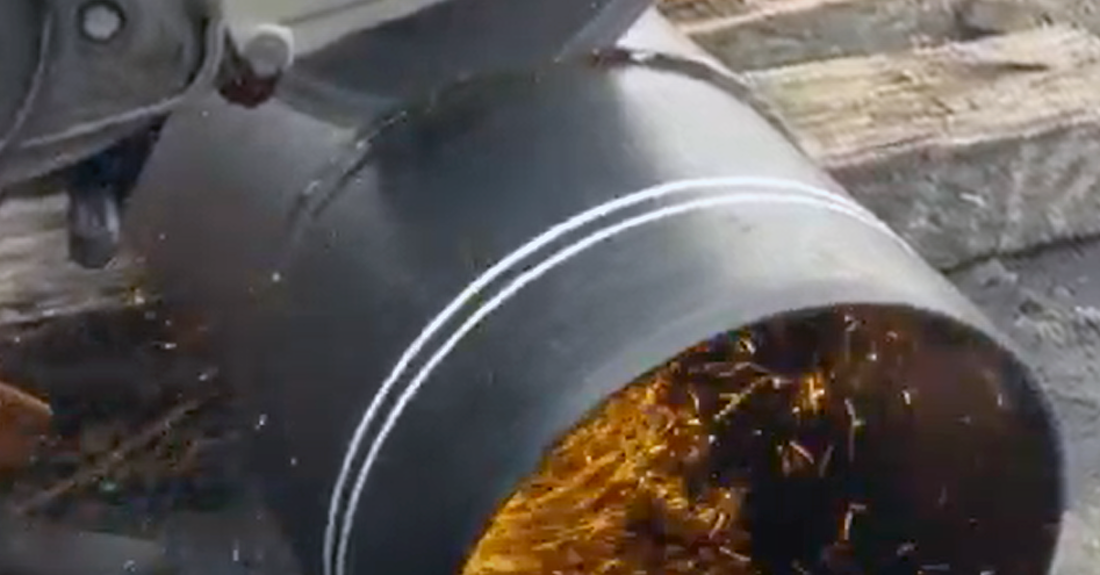
3. CUT PIPE – Remember to measure twice, cut once. At the location indicated in Step 1, cut the pipe using a carbide abrasive or diamond-tipped blade and make a smooth, even cut. See our helpful blog and video on How to Cut Ductile Iron Pipe to Length.
4. BEVEL PIPE – Use a metal file or rotary angle grinder to apply chamfered relief to the spigot end. Square or sharp edges may damage or displace a gasket during assembly. See our helpful blog and video on Chamfer or Bevel? What’s the Difference?
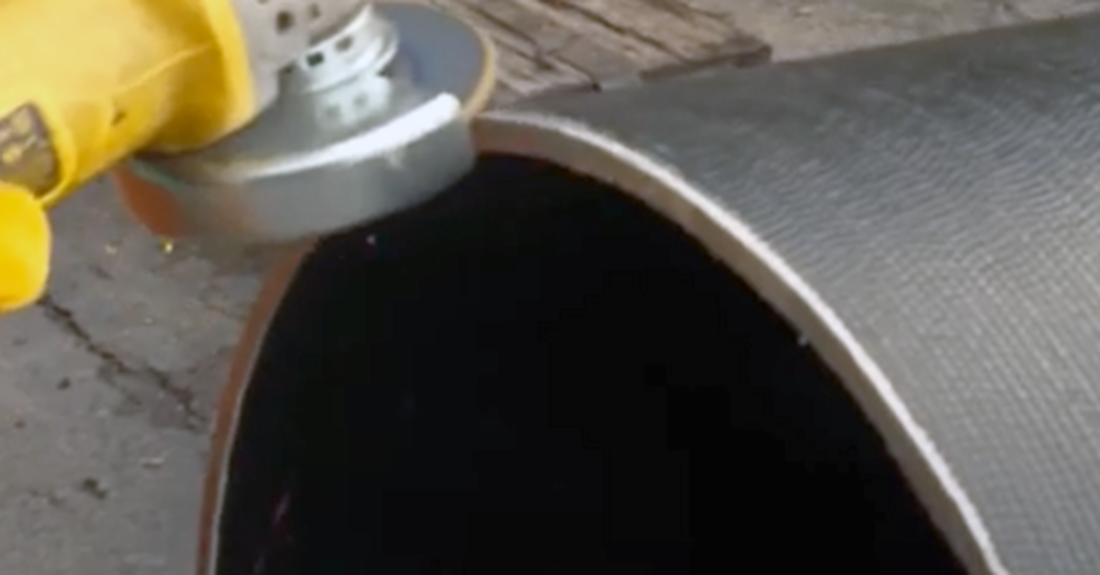
5. CHECK ROUNDNESS – Check if the pipe is still round. Hint: a good way to check this is to use a mechanical joint gland that can be used as a field ring. if the gland fits over the plain end, you can proceed with normal assembly. If it does not, you should utilize the rounding kit and move on to step 6.
6. PLACE LONG AXIS VERTICAL – You will want to set the long axis of the pipe in a vertical or near-vertical position. This makes placing the jack much easier. The objective is to transform the long and short axes of the pipe to return to being equal so that they can be inserted in a fitting, valve, or pipe bell.
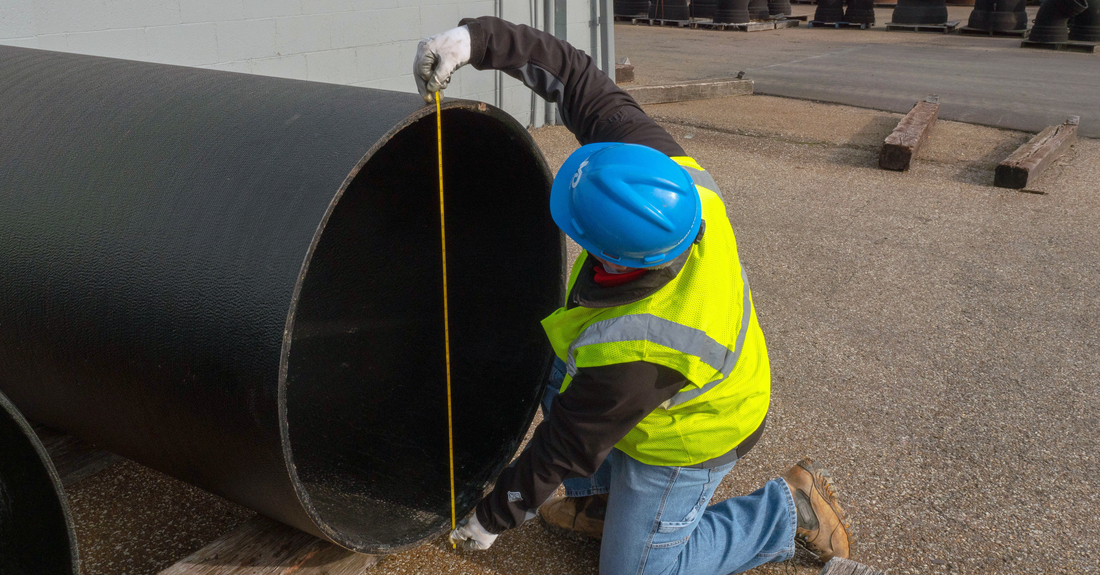
7. SET THE JACK – Set the jack at the high point of the pipe, usually at the 12 o’clock position on the top of the pipe. You want to be close enough to the affected area but also far enough away to allow the measuring gland easy access to the pipe while giving the finished joints.
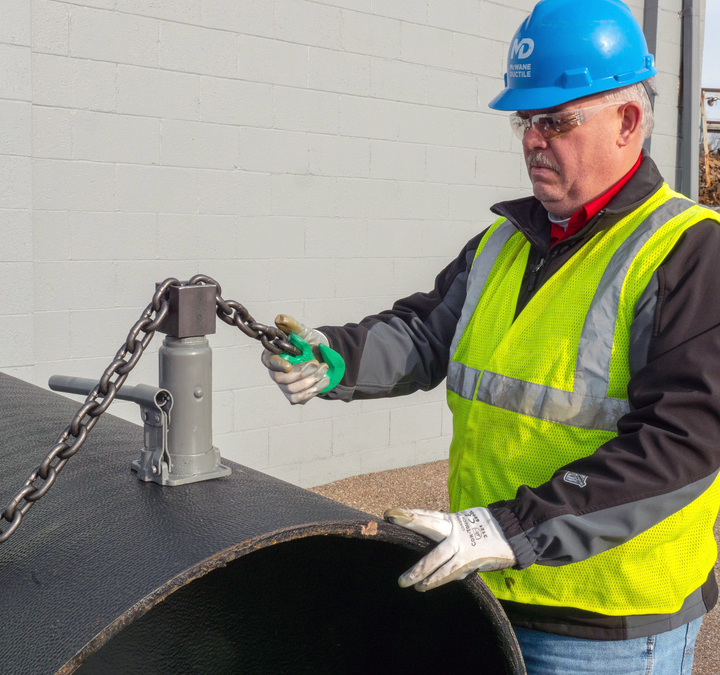
8. WRAP THE CHAIN – The chain should be wrapped around the pipe with mild tension. Position the chain inside the block and secure it in the hook. Remove the slack from the chain by jacking the jack until the chain is secure. Remember to leave the jack in place until the joint is assembled. Make sure the joint is adequately lubricated as well. Take another axis measurement before rounding the pipe.
9. ROUND THE PIPE – The best position to operate the jack is behind it. This makes assembly observation more manageable. Operate the jack by cranking downward to reach the desired roundness.
DO NOT USE EXCESSIVE FORCE OR EXTENDED MEANS TO CREATE UNSAFE LEVERAGE OR STRAIN UPON THE JACK OR CHAIN.
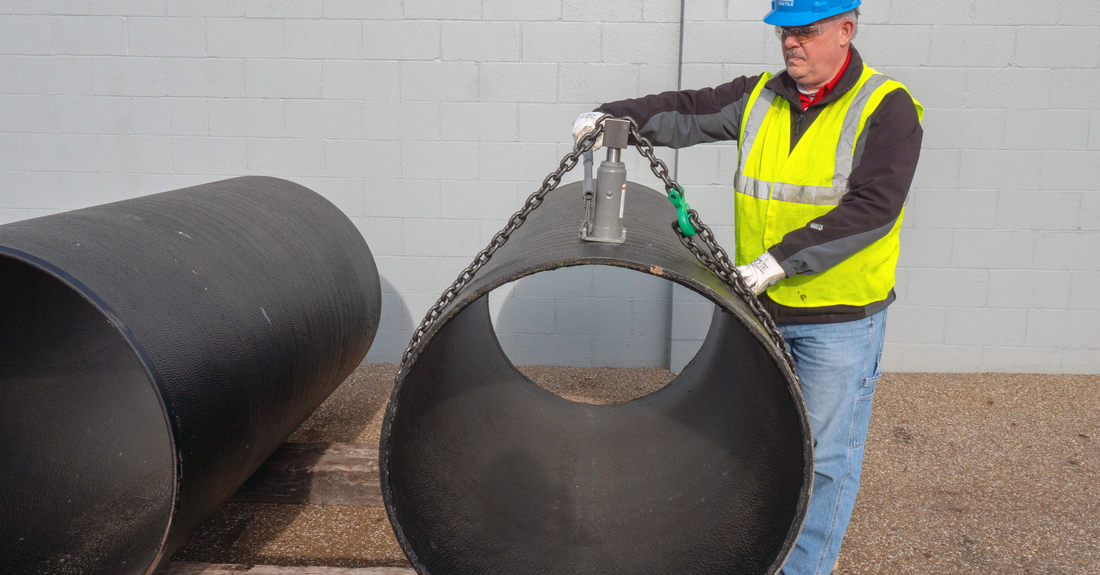
Once the joint has been assembled and Tee-Head bolts have been tightened, you can release the chain's tension. Then, you can remove the kit from the pipe and continue tightening all bolts, including the restraint bolts on the retainer gland. The pipe will relax once the kit is removed, but the joint will still function as intended.
Be sure to download and save our handy Tip Sheet for Using the McWane Ductile Field Rounding Kit by clicking the download button below (available as a double-sided PDF in English and French).
PRO TIP: Each pipe joint needs to be addressed differently. The kit's purpose is to temporarily turn the oval pipe back into a circular pipe. Some pipes require minimal rounding, others a bit more. The size of the pipe, the wall thickness, and the severity of the ovality will all determine what adjustments need to be made.
Just for peace of mind, ovality is not a common occurrence. You can lay thousands of feet of large-diameter Ductile and never be required to use this kit. But when it does happen, you now know one of the most convenient ways to make your pipe round and ready to use. It’s a simple procedure, and it works very well on all our McWane Ductile larger-diameter pipe when needed. Best of all, you don’t have to go crawling inside a piece of pipe.
Need a Rounding Kit?
Kits are available from your local distributor or McWane Ductile Sales Representative. Visit our Sales Rep page to find the representative in your area. ROUNDING KITS ARE PROVIDED COURTESY OF McWANE DUCTILE AND ITS AFFILIATES. NO SALE OR RESALE VALUE IS ATTACHED, PERMITTED, OR ENDORSED. IMPORTANT NOTE: McWane Ductile and/or McWane, Inc. shall not be liable for injuries or damage caused through improper use or application of this equipment. Do not use the enclosed chain for any purposes other than as described in the kit.
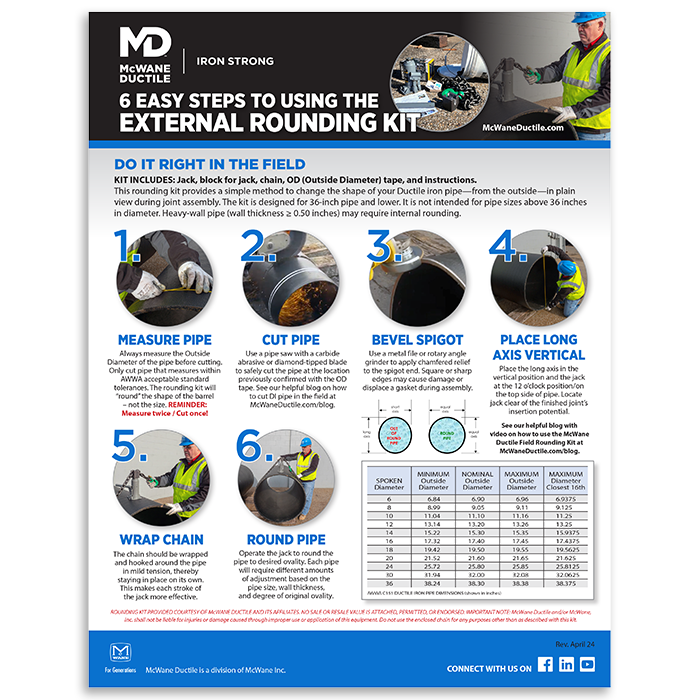
Is ovality slowing down your pipeline installation? Use this tip sheet in English and French to quickly restore your pipe to round by using the McWane Ductile Rounding Kit!
DOWNLOAD NOW
Need Assistance with Your Waterworks Project?
If you have any questions regarding your water or wastewater infrastructure project, be sure to reach out to your local McWane Ductile representative. We have team members who've managed small and large water utility systems, served in engineering consulting firms, and bring decades of experience in solving field issues involving pipeline construction and operation. From design to submittal, to installation, we strive to educate and assist water professionals throughout the water and wastewater industry.

