What is TR Flex® Pipe?
TR Flex® is the most widely accepted and installed integrally cast restraint joint system in the Ductile iron pipe industry. Proven as a versatile and easy-to-use item, this joint is flexible, sure, and watertight to and beyond its up-to-350-psi pressure rating while preventing longitudinal separation of the joints, whether installed above or below ground.
TR Flex® utilizes the Tyton joint gasket for a watertight seal, along with a factory-adapted spigot and extended bell casting to provide positive and permanent joint restraint.
Common uses of TR Flex® joints include:
- Restraining joints on either side of a fitting per design requirements
- Horizontal Directional Drill
- Bridge Crossings
- Pipe in Casings
- Pipe Bursting
- Above Ground Applications
- Seismic Considerations
- Subaqueous Installations
- Areas where you may encounter unstable soil conditions
How Does TR Flex® Work?
TR Flex utilizes locking segments that fit into a bell slot that wedge against a welded bead applied to the spigot end of the connecting pipe. Once assembled, this positive restraint prevents the joint from separating under extreme operating conditions.
What Sizes Are Available In TR Flex®?
McWane Ductile manufactures TR Flex® pipe and fittings in sizes 4-inch through 36-inch. The locking segments are sized specifically to the pipe diameter being installed, and the number required is also based on the pipe size, as noted below:
- 4-inch – 10-inch pipes have two slots in the bell and require 1 set of locking segments (1 LH & 1 RH).
Pro Tip: Position one of the slots to make it easily accessible for these sizes. 12 O’clock is ideal. Note: For the above sizes, the second slot would only be used in a field cut pipe application.
- 12-inch—20-inch pipes have two slots in the bell and require two sets of locking segments (2 LH & 2 RH).
Pro Tip: On these sizes, position the slots at 3 O’clock & 9 O’clock.
- The 24-inch—36-inch pipe sizes have four slots in the bell and require four sets of locking segments (4 LH & 4 RH).
Pro Tip: Put witness marks on the bell in the location of the slots to allow the operator to maintain orientation of the slots. Slot openings should be at an “X” formation – 10 & 2 / 8 & 4.
Easy Assembly
As a boltless restraint system, TR Flex® is easy to assemble and requires no special tools in the field. Under normal conditions, less than five minutes of assembly time is needed for a 36-inch joint. Installation of the TR Flex® joint saves time versus alternate joints, such as Mechanical Joint, which may take up to an hour to install.
Assembly Instructions
The TR Flex® joint requires the use of a standard Tyton® gasket. The same installation requirements apply.
1. Make sure that the TR Flex® bell is clean and free from debris, dirt, or excess tar paint. Insert the Tyton® joint gasket in the bell's groove, making certain that the gasket is seated.
- Pro Tip: In colder weather, be sure to keep gaskets warm until ready to use. Also, a common practice is to form a loop(s) in the gasket to allow for the gasket to seat more evenly. (2 or 3 loops may be used for larger sizes)
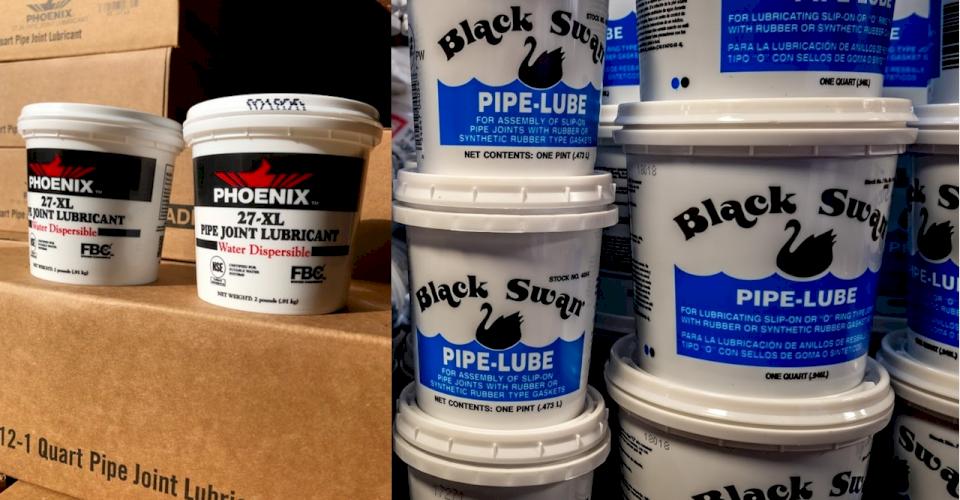
2. Apply pipe lube to the ID of the gasket.
3. Check the spigot of the pipe to be inserted into the TR Flex® bell.
4. Make sure it is clean and free from debris.
5. Lube the spigot back to the weld bead with the lubricant provided by the McWane Ductile.
- Pro Tip: Only NSF 61-approved lubricants are recommended for pipe gaskets. Never use spray lubricants on pipe gaskets.
6. Insert the spigot into the TR Flex® bell past the first home line.
- Note: Maintain this straight alignment and steady pressure on the bell of the installing pipe until all the locks are installed.
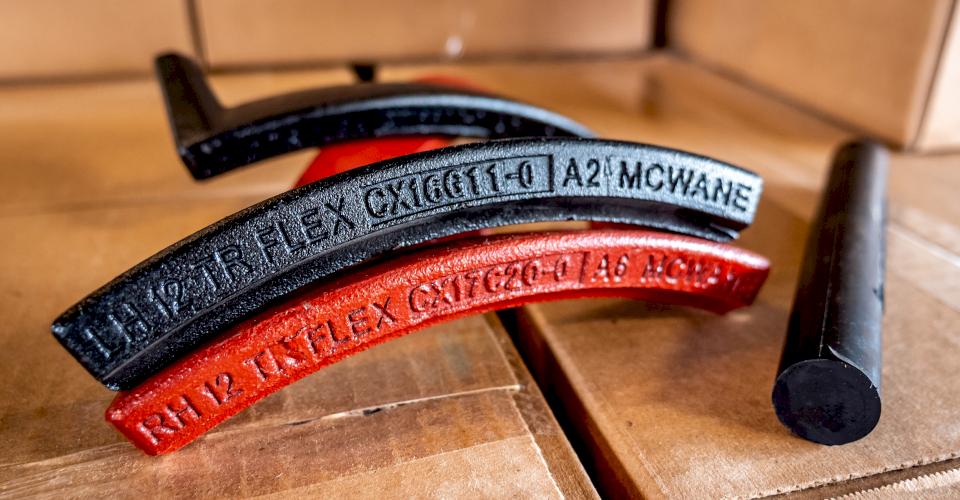
7. Insert the left-hand (Black) locking segment into the slot in the bell and rotate to the left.
8. Then insert the right-hand (Red) locking segment into the same slot and rotate to the right.
9. While keeping the two locking segments apart, insert the rubber segment between them in a “U.” The rubber segment does not seal the joint, and a screwdriver or small chisel may be used to assist with installation.
- Pro Tip: For HDD, Bridge crossings, Pipe in casing, pipe bursting, or above-ground applications, Trim the rubber segment to ¼” longer than the space between the locking segments. Insert the rubber segment completely into the space between the locking segments and push it into the slot with a screwdriver to the back of the cavity.
10. Repeat installation of locking segments accordingly as required for the pipe diameter used.
11. Once all the locking segments are installed, extend the joint to remove the slack and lock the restraint system.
- Pro Tip: Extending the joint will attain the marked laying length and minimize growth when the line is pressurized.
12. Set the necessary deflection of the joint. Per manufacturer recommendations
- Pro Tip: If the joint needs to be disassembled for any reason, TR Flex® can be easily disassembled by reversing the assembly procedure. Some other joints are not so easy to disassemble once they are assembled.
McWane Ductile has been providing quality water and waste pipes since 1921. We have three pipe plants in the United States: New Jersey, Ohio, and Utah. These plants allow us to serve our American and Canadian customers quickly and with low shipping costs.
To learn more about the TR Flex® joint, download the TR Flex® submittal sheet or contact your local McWane Ductile Representative.
Need Assistance With Your Waterworks Project?
McWane Ductile offers multiple services to our customers extending far beyond manufacturing Ductile pipe. From estimating to design, from production to installation, we take great pride in providing education and assistance to water professionals throughout the water industry.
Check out all our digital offerings:


