Are you the owner, supervisor, or crew member responsible for installing Ductile iron pipe? Have you ever become nervous before a hydrostatic pressure test or experienced increased anxiety during a test? Were you relieved when the waterline passed the test? What about if it failed? Did you feel depleted?
Emotions can span the gamut during critical times, such as pressure testing a pipe. What if you had a simple method or tool that could change nervousness, anxiety, or depletion into confidence? Would you use it? Of course, you would! Using any device to ensure accuracy and safely enhance productivity and profitability is undoubtedly worth it. In this Iron Strong Blog, we’ll show you how to quickly check a gasket for proper installation in Ductile iron push-on joints long before your hydrostatic test.
Now let’s take a minute to watch this helpful step-by-step video that shows how to use a feeler gauge to ensure proper gasket installation.
What Exactly is a Feeler Gauge, and How Do I Use it?
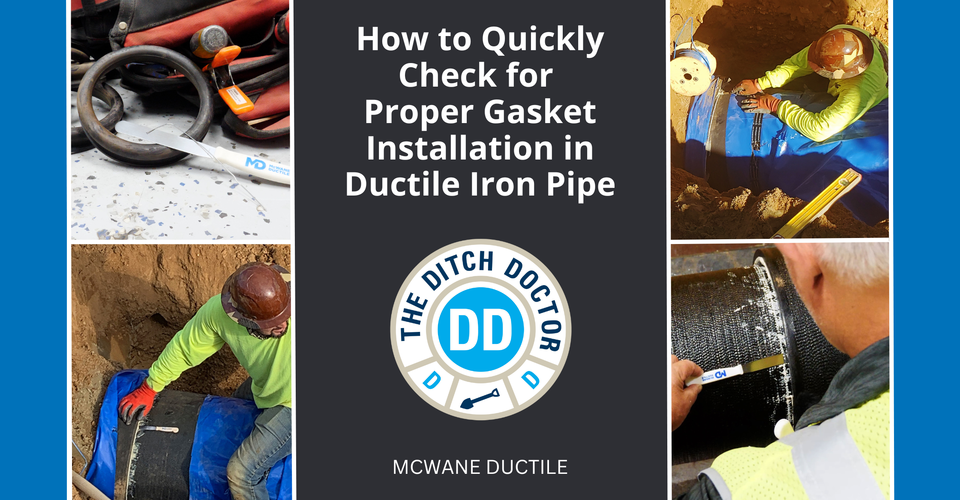
A feeler gauge is typically a thin, flexible metal blade/bar that is NOT SHARP and that can be inserted into the annular space between the bell ID and spigot OD at regular intervals around the joint. This ensures that the leading edge of the gasket is in approximately the same position or depth around the entire installed joint.
This depth will vary slightly depending on the pipe size being installed. The end of the feeler gauge will extend further into the joint in the location where the gasket has been displaced. Little to no effort or force is required to insert the feeler gauge into the joint.
Items used as feeler gauges include small banding pieces, a paperclip, a small Allen wrench, etc. McWane Ductile has taken the initiative to develop this useful tool, complete with a handle that makes it easy to use, fits in a pocket or safety vest, and is easy to keep track of on a job site. A feeler gauge can be obtained upon request from your local McWane Ductile sales representative.
Let’s Review How to Use a Feeler Gauge Properly
- Locate your assembled Ductile iron pipe joint
- Select your feeler gauge tool of choice
- Insert the feeler gauge between the bell and the spigot
- Without being forceful, feel for the rubber inside the joint
- Check the joint at various locations all the way around the joint
PRO TIP: Don't forget to check the 6 o'clock position of the joint, which is the most common area for issues, as "bell holes" are unfortunately overlooked at times. Bell holes are recommended in the ANSI/AWWA C600 Installation of Ductile-Iron Mains and Their Appurtenances.
How Do Gaskets Become Rolled or Displaced In the First Place?
Let's put this into perspective. Thousands of miles of water pipe are installed daily. McWane Ductile produces enough sticks of Ductile iron pipe yearly to span from New York City to Los Angeles. Most of which are properly installed without issue. However, the most experienced crew may eventually run into a problem. Gaskets may become displaced due to a few reasons, such as:
- Dirt or debris in the bell socket
- Ice in the bell socket
- The bell socket was lubed prior to gasket installation
- Insufficient lubricant on the gasket Inside Diameter (ID) or spigot Outside Diameter (OD)
- Not using pipe manufacturer-approved pipe lubricant
- The gasket is not properly seated
- Misalignment of the spigot
- Lack of attention to detail
The most proactive way to avoid any of these issues is proper training. McWane Ductile provides various Installation Guides, Tip Sheets, and videos as practical tools to assist with formal training sessions with crews. In addition, we can provide on-site, in-class, or jobsite training. A McWane Ductile training professional can provide these sessions upon request.
PRO TIP: Schedule a training session by contacting your local sales representative before job start-up or on an annual schedule, complete with a formal sign-off sheet.
How Do I Ensure a Push on Gasket Has Been Installed Properly?
Along with proper training, McWane Ductile recommends using what we refer to as a “feeler gauge” to check for proper installation of push-on type joints using standard gaskets, including various types of rubber such as:
- SBR
- EPDM
- Nitrile
- Neoprene®, or Viton® elastomers.
A feeler gauge is also recommended when installing restraint gaskets such as the McWane Ductile Sure Stop 350™ gasket. Feeler gauges may not be used to check MJ (Mechanical Joint) or boltless restraint systems with a weld bead on the spigot end due to the presence of the weld bead, which blocks the insertion of a feeler gauge.

Who do I call if I continue to Experience Gasket Installation Issues?
With proper training and the use of a feeler gauge to ensure adequate gasket insertion, you can significantly increase the accuracy and productivity of your water pipeline installation. Sometimes, it’s human nature to be reluctant to seek help, but don’t wait too long to contact your local McWane Ductile sales representative.
Rest assured, we are here to help you avoid those feelings of nervousness, anxiety, or defeat! We are a trustworthy pipe manufacturer, providing teamwork and leadership to all in the water and wastewater industry. If you’re experiencing issues in the field, whatever the reason, contact us today.


