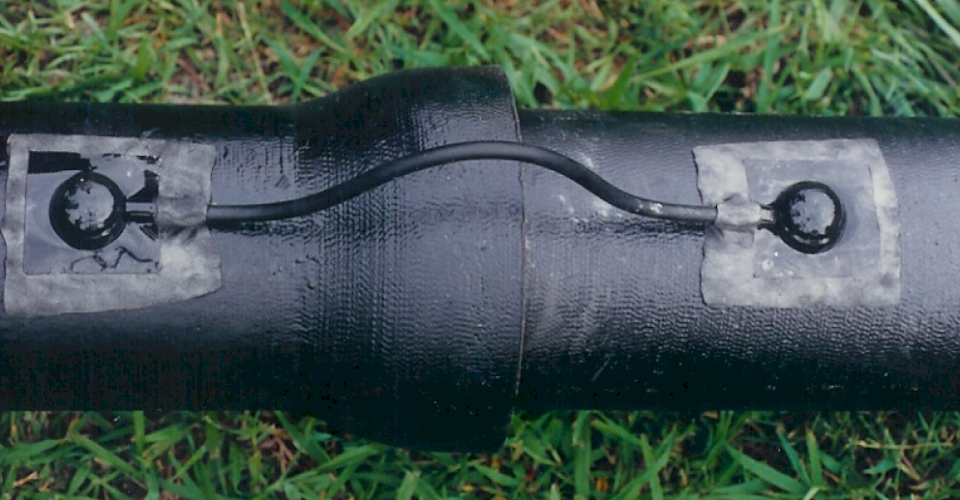
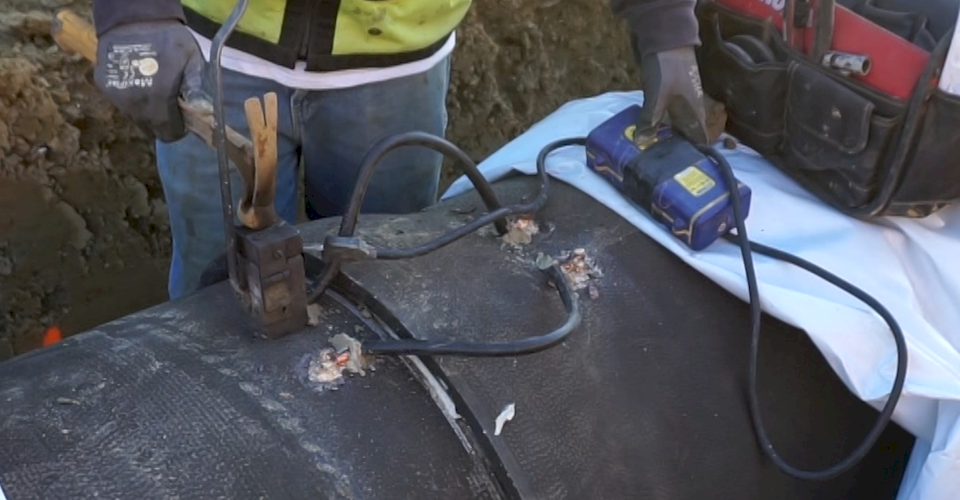
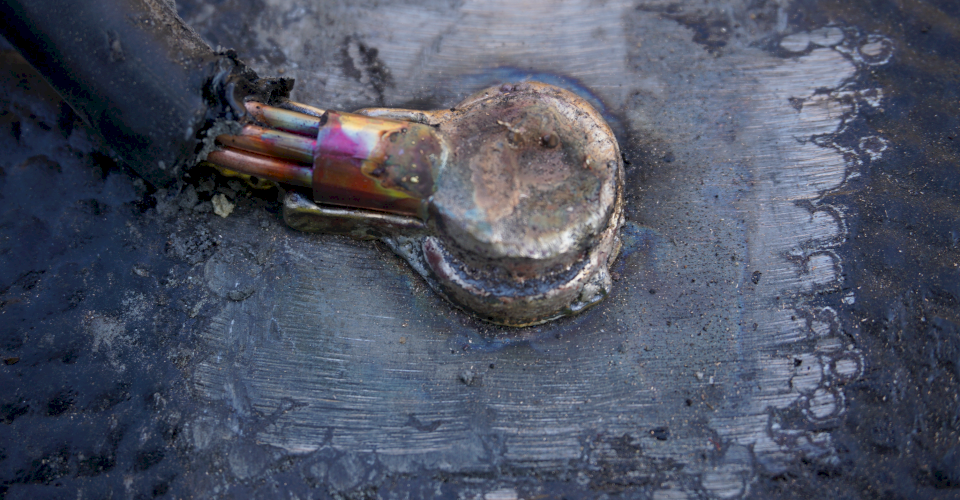
Thermite welding, often referred to as CAD welding, on Ductile iron pipe (DI pipe) and products is a common practice in our industry today. This welding technique of using heat from an exothermic reaction to produce coalescence between two metals is most often used to bond the Ductile iron joints for cathodic protection or for the opportunity to add a cathodic protection system at a later date. In this Iron Strong Blog, we will discuss when, why, and how to properly CAD weld on DI pipe.
When and Why Do I Need to CAD Weld on Ductile Iron Pipe?
Cast and Ductile iron products have been in service for hundreds of years. Installation locations vary greatly, whether it be an inner-city installation to rural, coastal, or horizontal directional drill, to name a few. Many considerations for the type of soils, bedding, and installation methods are always a good practice when designing a water line using any piping material.
When installing Ductile iron pipe, a solid corrosion mitigation plan may extend the life expectancy of the pipe well beyond its 100-year projected life. Prior to installation, it is important to complete an in-depth soil evaluation to determine the appropriate level of corrosion control required. This upfront research will equate to cost savings down the road. If determined that cathodic protection is necessary, you will want to ensure you and your crews understand how to complete the CAD welding process safely and efficiently by conducting proper training. Now, let’s fire up that weld box…well…almost!
How Do I CAD Weld on Ductile Iron Pipe?
Step 1: Safety First – Locate Proper PPE
- Face shield
- Eye protection (safety glasses or face shield)
- Gloves
- Respirator
- Well-ventilated area
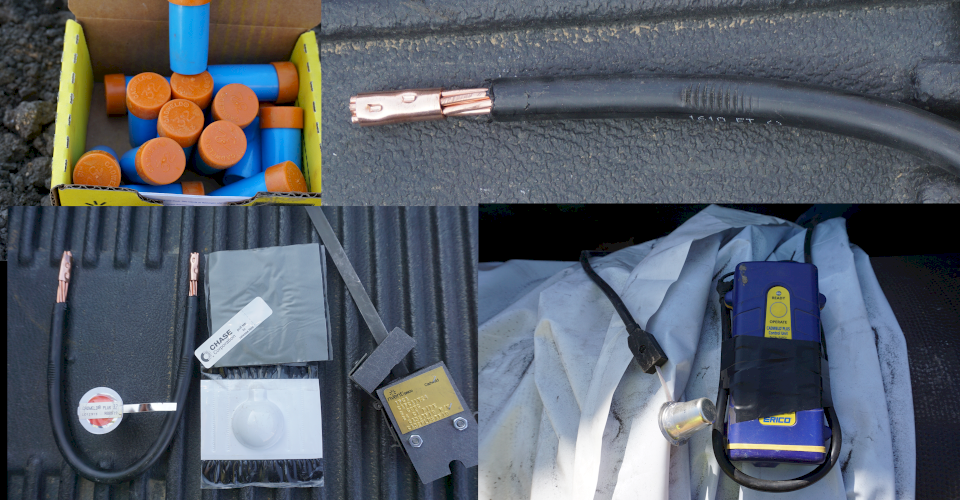
Step 2: Gather the Proper Equipment
- Handheld grinder/wire wheel brush
- 2-pound hammer
- Nickel disc or charge
- Box/holder
- Ignitor
- Patch or coating for the welds
- Stranded copper wire with coating specified for the project
- Lengths and gauge of wire may vary
Step 3: Surface Preparation:
- Atmospheric conditions are to be dry without rain, snow, etc.
- Remove any debris or contaminants from the surface to be weld.
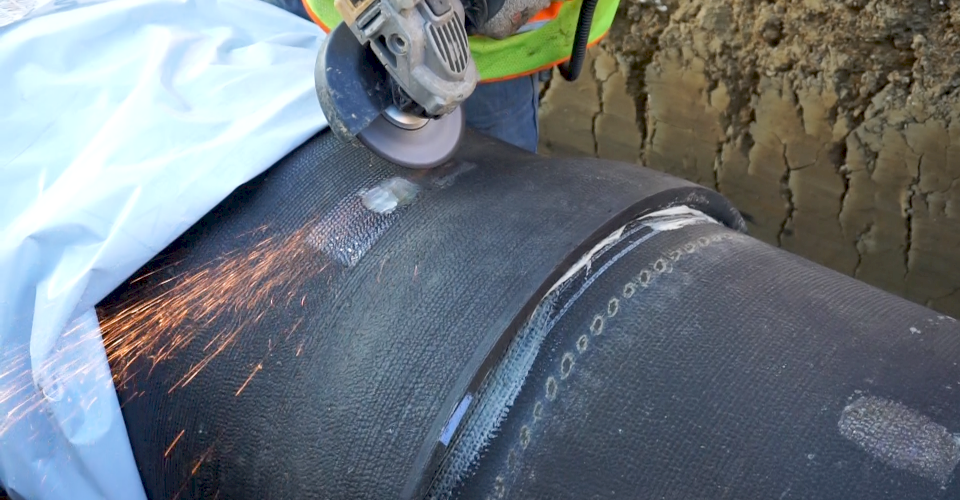
- Use a handheld grinder to remove the peen from the surface of the Ductile iron pipe.
- A flat surface must be obtained to provide an adequate base for the weld.
Step 4: Assemble the Welding Kit and Apply the Weld
- Ensure the weld box has been cleaned before use.
- Place the weld box on the flat/prepared surface.
- Insert the nickel weld plate and weld charge if using a pre-packaged weld charge.
- Close the box.
- Downward pressure may be applied to the box, ensuring a tight seal, and avoiding heat loss.
- Ignite the charge.
- Ignition may be via a hand spark or electronic box method (preferred).
- Electronic ignition systems have been the system of choice. Electronic systems remove the potential for powder used in conventional systems to collect moisture and become difficult to ignite.
Step 5: Allow the Weld to Cool
- Allowing the weld to cool prior to removing the weld slag reduces the potential for injury. This also reduces the potential for damage to the polyethylene encasement, if used.
Step 6: Remove the Slag
- Use the 2-pound hammer to remove the slag from the weld.
- Strike the weld with the 2-pound hammer to verify a good weld.
- If the wire/weld fails when struck with the hammer, you must restore the surface to the initially prepared condition before repeating the CAD welding process.
Step 7: Cover the Welded Area
- Install weld patches (preferred) or coat the weld areas with an approved coating.
- Examples:
- Welding patches per project specification
- Bituminous coating
- All exposed Ductile iron surfaces, welded areas, and copper wire must be adequately coated prior to completion of the project.
- Examples:
To Summarize
As mentioned earlier, a solid corrosion mitigation plan will help extend the life span life of your Ductile iron pipeline. At times, due to soil or surrounding conditions, you may find it necessary to CAD weld coated copper stranded wires to bond the joints for proper conductivity in cathodic protection systems. To learn more about developing a corrosion mitigation plan using DIPRA’s Design Decision Model, see this helpful Iron Strong Blog by my colleague, John Johnson.
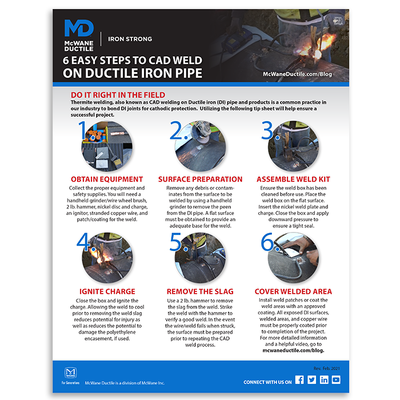
Be sure you and your crews know how to complete the CAD welding method correctly by downloading our handy tip sheet. Click the DOWNLOAD button below. If you have any questions regarding CAD welding or want to know more about DI pipe in general, please reach out to your local McWane Ductile Sale Representative.
