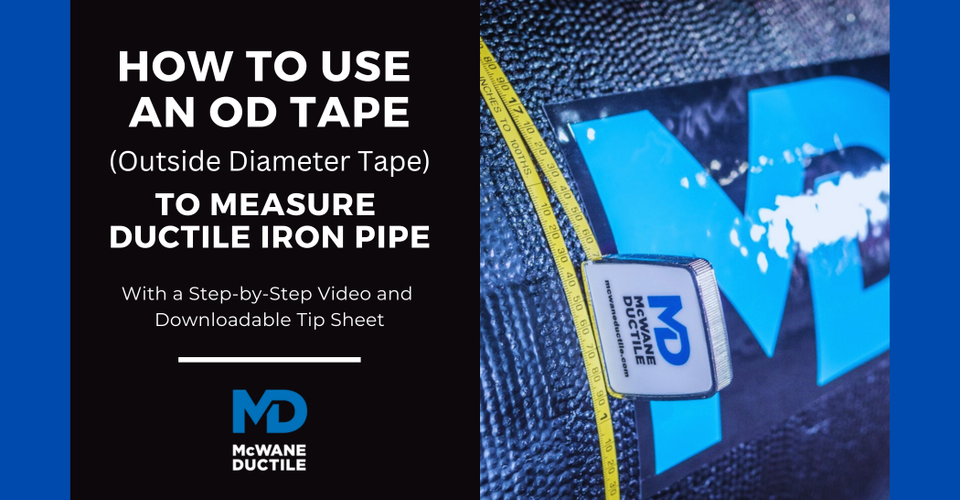
Jimmy texts Bill, "I can't get into the virtual meeting." Bill replies, "You need to click on the link I sent you." Jimmy responds, "Where is the link?" A frustrated Bill answers, "In the email about the meeting." A confused Jimmy asks, "On my computer? Bill answers again, "Yes! Is your computer on?" Jimmy fumbles to turn on his computer and texts Bill again, "OK, it is now. How do I get to the meeting?" Does this situation sound familiar to you? Have you ever explained something to someone only to realize that they knew less about the subject than you had previously assumed? In this episode of Iron Strong, we'll cover how to use an OD (Outside Diameter) Tape when measuring Ductile iron pipe.
Have We Gotten Ahead of Ourselves?
Is this type of situation familiar to you? Have you ever explained something to someone only to realize that they knew less about the subject than you had previously assumed? This can be a frustrating experience for both the teacher and the student. If we can go back to the very basics when helping someone learn a new skill or task, we can rest assured that both the instructor and learner are on the same page. McWane Ductile has posted many “How To” blogs for professionals in the waterworks industry, and many of those posts mention using an OD (Outside Diameter) Tape. Some examples are:
- How To Cut a Ductile Iron Pipe to Length by AJ DeMatteo
- Why Is it Important to Know The OD/ID of Ductile Iron Pipe? By Dustin Henderson
- How Can I Connect Other Materials to Ductile Iron Pipe? By Jeff Henderson
- How To Use McWane Ductile’s Field Rounding Kit featuring Jerry Regula and David Rouleau
But, perhaps, we have gotten a little ahead of ourselves. An OD tape should be a very common tool on a pipe installation job site, as common as a shovel and a hard hat. We have visited numerous job sites and Ductile iron pipe installations, and often and unfortuanatley, we cannot find an OD tape onsite. Perhaps this fundamental tool isn't as basic as we have come to think it is. So, let's back up a step or two and discuss what an OD tape is, how it can simplifyyour pipe installation process, and how to use it.
What Is an OD Tape?
A length of Ductile iron pipe is essentially a long cylinder. Harkening back to your elementary geometry, you will remember that cylinders have many different dimensions—length, radius, circumference, diameter, etc.
The "OD" in OD tape stands for “Outside Diameter.” Because Ductile iron pipe walls have a thickness to them, they have an inside diameter and an outside diameter that are slightly different. The outside diameter is larger than the inside diameter by double the thickness of the iron pipe wall. The outside diameter stays consistent through the different classes of pipe because most appurtenances that connect to pipe (megalugs, fittings, saddles, etc.) attach to the outside of the pipe. The outside diameter must be within a specific range for those appurtenances to fit correctly. An OD tape is a reliable and straightforward way to measure the outside diameter to make sure it is within that proper range.
Some contractors simply use a regular tape measure across the center of the pipe to find the diameter. However, this method has two significant flaws. First, it is difficult to accurately determine the direct center of the pipe circle. And second, this measurement only gives you one diameter across the pipe circle. In reality, the pipe has an almost infinite number of different diameters as you go around the "circle."
I use the term “circle” loosely because, on occasion, you may come across a piece of Ductile iron pipe that is slightly oval in shape, which is often imperceptible. The OD (Outside Diameter) Tape takes these almost infinitely variable measurements of outside diameters and gives us one overall average.
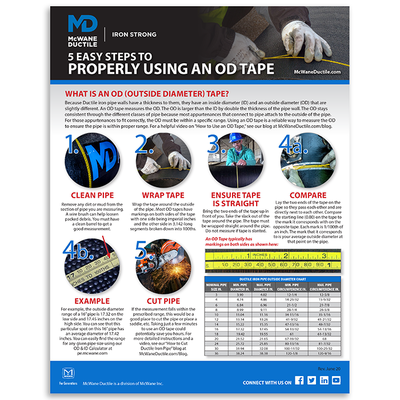
Ever heard the saying, “measure twice, cut once?” The same applies to Ductile iron pipe. Be sure to do it the right way by downloading this handy tip sheet on using an Outside Diameter Tape!
How Does an OD Tape Work?
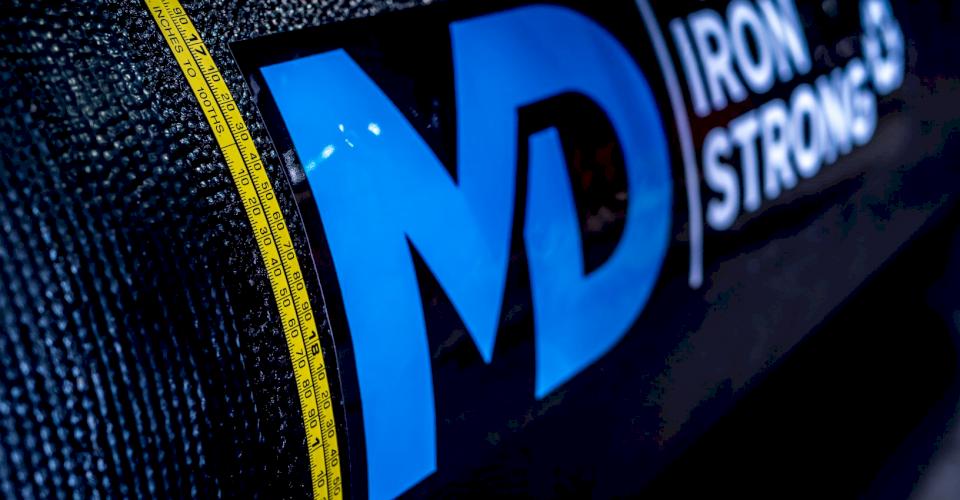
An OD tape is sometimes called a "Pi tape." To determine the diameter, you wrap the tape around the circumference of the pipe. The formula for the circumference of a circle is backed into the measurements on the tape.
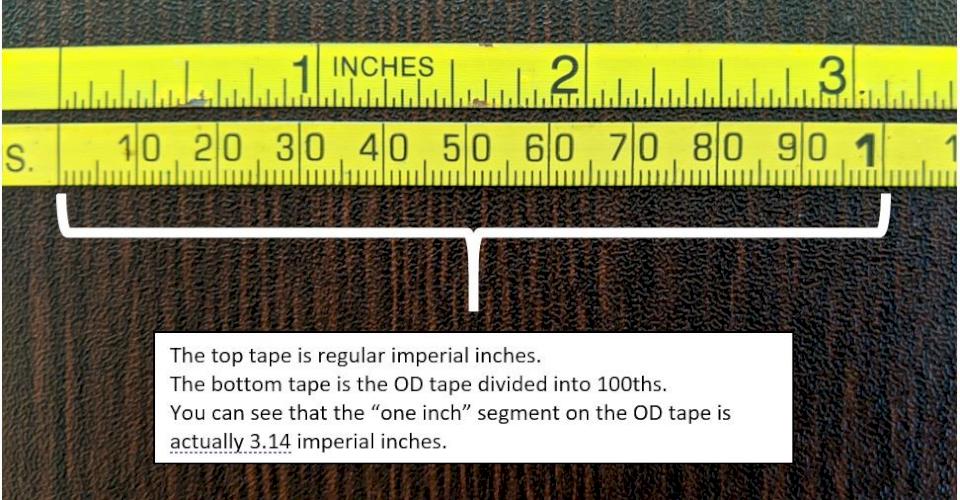
The formula for circumference involves the diameter (which is what we are really looking for): Circumference = Diameter X π. You will remember that π = 3.142. When the formula is backed into the measurements on the tape, each segmented mark on the tape is 3.142 inches long.
Therefore, measuring the circumference of the pipe circle with the modified measurements of the OD tape actually gives the overall average diameter.
How Do I Use an OD Tape?
Step 1: Clean the section of pipe that you are measuring. Try to clean off as much mud and dirt as possible. Sometimes a wire brush can help loosen any packed debris. If the pipe is clean and smooth, you will get a much more accurate measurement.
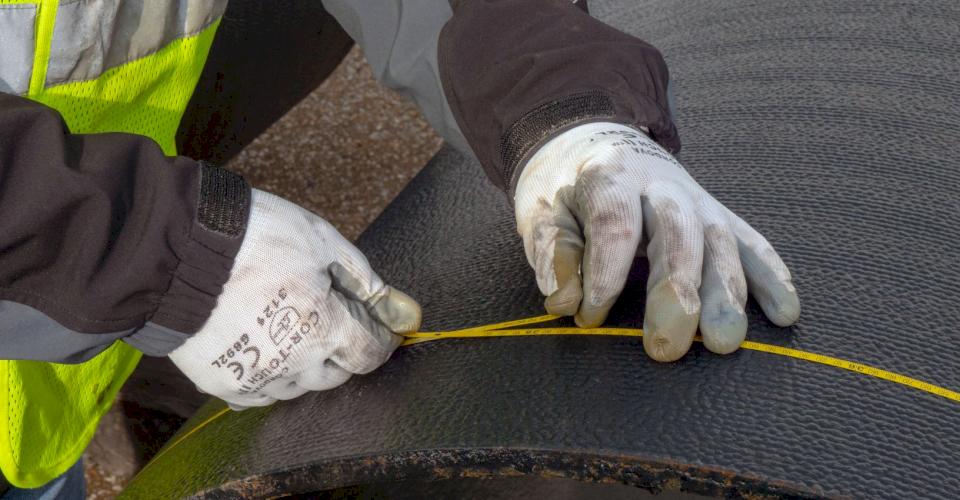
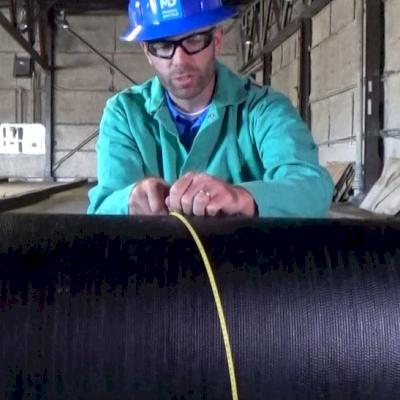
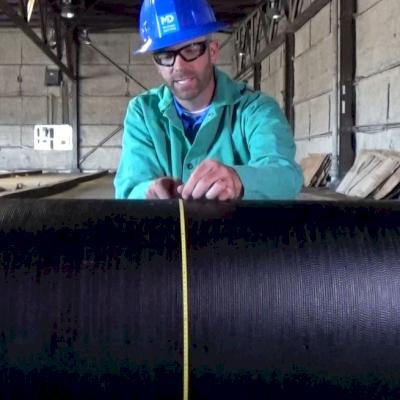
Step 2: Wrap the tape around the outside of the pipe. Most OD tapes have markings on both sides. One side is just the regular imperial inches, and the other side is the 3.142-long segments broken down into 100ths. You will need to use the side that measures in 100ths. Take special care to make sure the tape does not twist as it goes around. The tape needs to be sitting flat against the pipe all the way around.
Step 3: Bring the two ends up in front of you. Take the slack out of the tape around the pipe. The tape must be wrapped straight around the pipe. If it wraps around the pipe in a slanted manner, the measurement will be artificially big. Pulling the two ends alternating back and forth is an excellent way to straighten the tape. This back-and-forth movement tends to bring the tape straight around the barrel of the pipe.
Step 4: Lay the two ends on the pipe so they pass each other but are directly next to each other. Compare the starting line (0.00) on the tape to the mark it corresponds with on the opposite tape. Each mark is 1/100th of an inch. The mark that it corresponds to is your average outside diameter at that point on the pipe. For instance, the outside diameter range of a 16” pipe is 17.32 on the low side and 17.45 inches on the high side. You can see that this particular spot on this 16” pipe has an average diameter of 17.42 inches. You can easily find the range for any given pipe size using the ID/OD calculator on our pocket engineer by clicking here.
Step 5: If the measurement for the particular section of pipe you measured falls within the prescribed range, as it does in this example, then this would be a good place to cut the pipe or place a saddle, etc. If you find that the section of the pipe you measured is closer to the higher end of the range, you may want to move a few feet in one direction or another and measure it again. If you can find a section that measures just a little smaller but is still within spec, that will be an easier spot to work with when trying to fit on a follower or fitting. Trying to fit a pipe that measures on the larger side of the range can take much longer than fitting a pipe that measures on the smaller side of the spectrum. Taking just a few minutes to use an OD tape could potentially save you hours.
Keep That Tape Close
Now that you know all about an OD tape and how to use it, We encourage you to apply this newfound knowledge. Using OD tape on a pipe install should become a quick and easy habit that will save you time and material and make your install that much smoother.
Need Assistance with Your Waterworks Project?
If you have any questions regarding your water or wastewater infrastructure project, your local McWane Ductile representative is equipped with the expertise to assist you. Many of our team members have managed small and large water utility systems, served in engineering consulting firms, and bring decades of experience solving field issues involving pipeline construction and operation. From design to submittal to installation, we strive to educate and assist water professionals throughout the water and wastewater industry.

