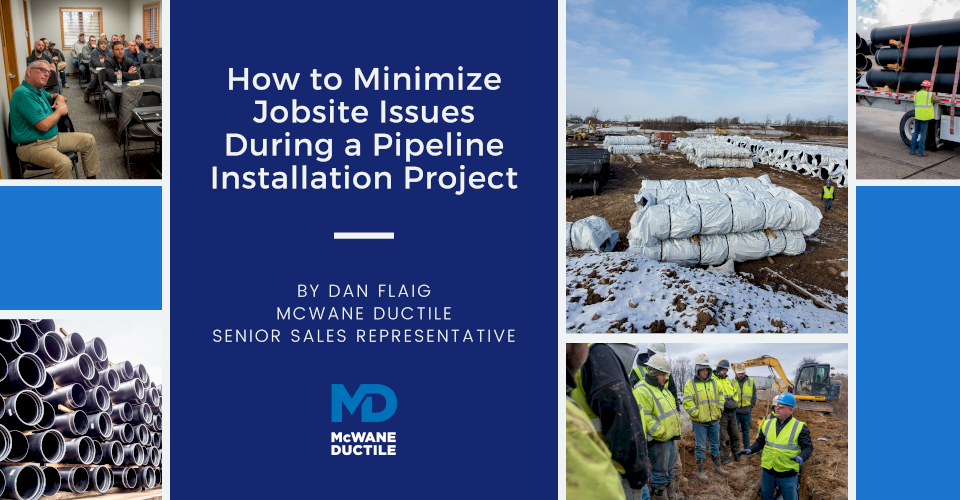
The goal for every pipeline project is to install the pipe and related appurtenances successfully within the timeframe and budget that the contractor bid the project. Sometimes, however, issues arise that may cause potential delays. These delays can cost time and money.
The good news is there are ways to help minimize these occurrences with proper training and product understanding. In this Iron Strong Blog, we will discuss how a project can get off to a good start and lead to a successful installation.
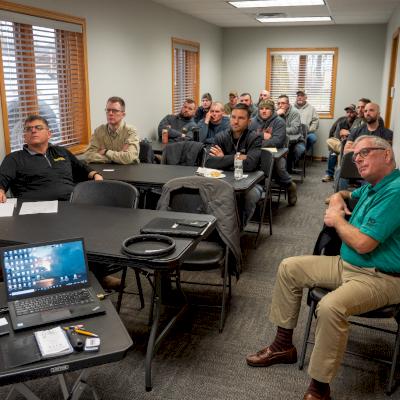
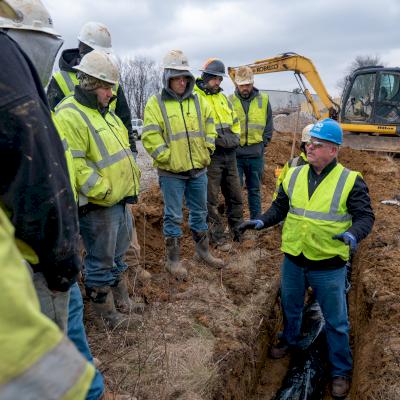
Jobsite Training in Advance of Construction
How many jobs have you completed where you had a company representative meet with your workers to discuss the material and how to install it prior to installation? This step may seem somewhat unnecessary since you have been installing pipe for many years - right?
We don’t see it quite that way. How often have you seen the greenest crewperson in the ditch? There are often younger employees or new hires that do not have the same level of experience as the rest of the crew.
At McWane Ductile, we offer pre-construction jobsite training where we are usually asked many questions. This service is not meant to imply that all crews need this pre-startup training. It simply demonstrates our commitment to the contractors and the people that use and install our products.
This training can be even more valuable when installing a larger diameter pipeline or having conditions that require an abundance of restrained joints. Horizontal Directional Drilling, Bridge Crossings, Penstocks, Shallow or Deep Buries, just to name a few.
Proper Handling and Inspection
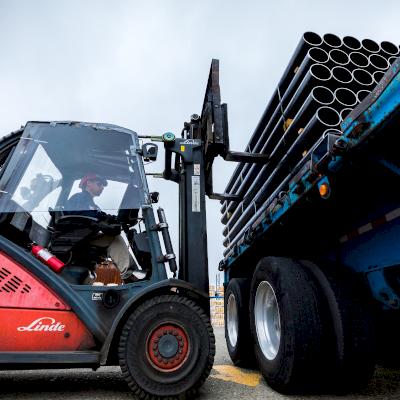
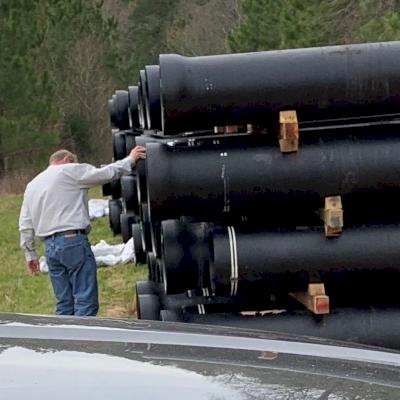
A project starts with the delivery of the required material. It is important to review the manufacturers' recommendations for safe handling, unloading, and inspection of the pipes upon arrival at the job site. A few things to be mindful of include the following:
- Review the Bill of Lading (BOL) to ensure the right product for the project has been received.
- Make sure that pipe bells and spigots are checked for any damage.
- Also, check to make sure the bell and spigot ends are clear of any debris or excess sealcoat.
While it is our goal to inspect every pipe we make prior to delivery, field inspection is also essential. Proper notation of any issue or discrepancies can minimize any disagreements later in the project.
For more information on this topic, see this blog, Receiving Ductile Iron Pipe. What You Must Know Before You Let the Truck Go, by my colleague Josh Baker.
Understanding the Product(s)
It may seem as simple as just digging the trench, lowering the pipe into position, and pushing it home. Although it can become routine, there are some details along the way that need attention, starting with a review of all manufacturer’s installation guidelines for that product.
Each joint type that can be supplied on a project - Tyton®, TR Flex®, or some other joint - has its own set of assembly instructions. These instructions are usually attached to the bill of lading for each truckload so that they are easily accessible for review by the customer.
Detailed instructions are vital for newer employees who may not have previously installed a boltless restrained joint system, like TR Flex. Understanding the necessary joint accessories and reviewing the "best practice" tips is always a good idea.
Understanding the Project Layout
Along with having a good understanding of the product to be installed, it is also recommended to review a laying schedule and bill of material for the project. This laying schedule is typically only needed for projects requiring restrained joint pipe and fittings or other unique installations such as pipe on supports or bridge crossings.
In these cases, there may be a very specific pipe sequencing that needs to be followed to ensure a smooth installation. A thorough review of the drawings and the accompanying lay schedule with material mark numbers can hopefully prevent the wrong pipe from going in the wrong spot.
This may seem minor, but when you are trying to maintain alignment, selecting the wrong closure piece can present unnecessary headaches and even delays when it is discovered that you can no longer make your tie-in as it was planned.
For more on this topic, see this helpful blog, Can McWane Ductile Provide Lay Schedules and Line Drawings co-authored by my colleagues, Cory Humphreys and Jeff Henderson.
Things to Monitor During Pipe Assembly
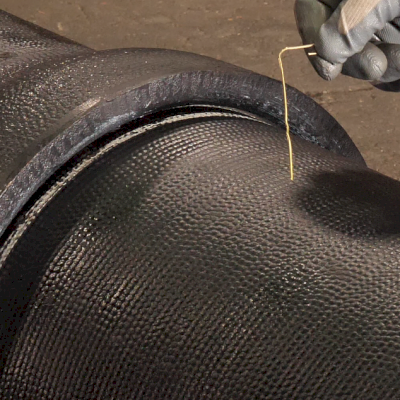
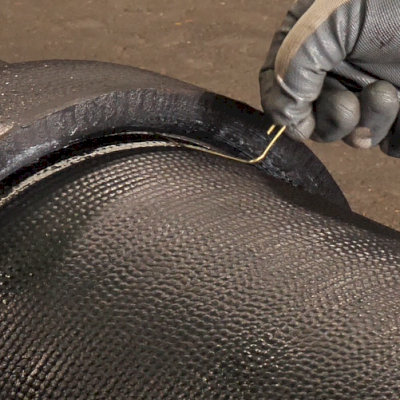
- Proper Seating of the Gaskets: Whether using a standard Tyton or a Sure Stop 350® restraining gasket, make sure that the gasket sits in the gasket seat area of the bell. In addition, adequate lubrication applied to the face of the gasket and the spigot of the adjoining piece of pipe will help ensure proper fit in the bell.
PRO TIP: After joint assembly, a feeler gauge can be used to determine if the gasket is seated correctly and has not been displaced.
- There is an old saying, “Straight is great.” One may take this as a no-brainer. However, you may be surprised to know one of the most common causes for leaks is improper alignment prior to homing the pipe. There are many obstacles for a crew to work through. Hey, if it were easy, anyone could do it, right? The pipe or fitting must be straight during assembly. This is especially important when installing restraint gaskets. Take a moment to remind your crew how important alignment is or call on us and we will provide on-site training at no cost for you.
- Cutting Ductile iron pipe in the field: McWane Ductile does not recommend cutting a pipe within two feet of the bell face due to the curvature of the bell shoulder and potential for oversize or a large Outside Diameter (OD) However, that does not mean it can’t be done. To be safe, no cuts should be made without first checking the OD of the barrel to ensure the OD measurement is within tolerance. A wise man once said, “Measure twice/cut once.”
- Additionally, when cutting pipe 14-inches in diameter and larger, pipe marked as "gauged full length" (GFL) should be used whenever possible. McWane Ductile will typically send 10% of an order with large diameter pipe as GFL. The green paint on the face of the bell can readily identify this pipe. This pipe should be sorted after unloading and reserved for when a cut needs to be made.
PRO TIP: In the field, a mechanical joint gland can be used to measure a pipe's OD for its suitability to cut.
What Do I Do If I Have a Problem?
Trying to locate a potential leak can be stressful and frustrating. Upon the earliest sign of a problem, the absolute first thing to do is call the manufacturer’s representative to make them aware. Our Product Engineering Staff can assist in troubleshooting the issue and, hopefully, bring about a quick resolve. At a minimum, they can help provide some insight into the issue you are facing. The last thing we want to happen is to receive a call days or even weeks after a problem has occurred when frustrations and costs have both begun to rise.
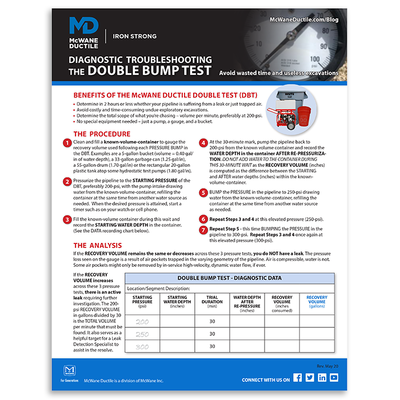
Perform as much diagnostic evaluation as possible. These diagnostics include performing a Double Bump Test (DBT) to determine if the problem is trapped air or an actual leak. Any data gathered, including water loss at the required test pressure, will be important in evaluating the issue.
In some instances, it may be necessary to contact a leak detection service. We commonly hear stories about a contractor digging for days looking for a leak before finally contacting a leak detection service. The days spent digging can far exceed the cost of leak detection. Keep in mind that these companies exist because there are occasionally problems with pipeline installations. When utilized effectively, they can help minimize lost time and money.
Is it a leak or just trapped air? Be confident with your pressure test results by downloading and using this handy Double Bump Test Tip sheet!
Root Cause Analysis
What happened to cause this leak? Our goal is to make the highest quality product that meets our customer’s expectations. While this is the case most of the time, we are not immune to an occasional manufacturing issue. When we have a questionable product regarding a potential defect, our focus is to examine and test that product as soon as we are able. Pictures and or video can be a huge benefit to resolving an issue in a rapid fashion.
This evaluation is essential for several reasons: First, we need to determine if the problem was indeed a production issue. And if so, we need to take proper corrective measures to prevent similar issues in the future.
When further analysis is required, there are some steps you can take to help us out. For example, if you cut out a complete joint, be sure to keep the joint intact and allow enough barrel on either side so that we can test it in its installed condition.
For root cause determination, it helps to spray paint a line across the intact joint at 12 o'clock to show assembly orientation. While disassembly in the field may be necessary sometimes, it greatly diminishes our inspection capability. It is virtually impossible to re-assemble that joint and get the same result as what occurred in the field.
Need Assistance with Your Waterworks Project?
If you have any questions regarding your water or wastewater infrastructure project, be sure to reach out to your local McWane Ductile representative. We have team members who've managed small and large water utility systems, served in engineering consulting firms, and bring decades of experience in solving field issues involving pipeline construction and operation. From design to submittal, to installation, we strive to provide education and assistance to water professionals throughout the water and wastewater industry.
